Bayonetta Origins: Cereza And The Lost Demon - Cereza's Resolve Walkthrough Part One
Quick Links
- Sunspeckled Grove, The Return
- Sunspeckled Grove, Inferno's Influence
- Sunspeckled Grove, Chasing The Circus
- Tir Na Nog - Puncture
Of all chapters in Bayonetta Origins: Cereza and the Lost Demon, its fourth installment is easily one of the largest. Spanning five areas and seven Tir Na Nog dungeons (some of which are entirely optional) and with so many new side paths and items to discover, you'll find yourself quickly getting immersed in the adventure of Avalon Woods.
RELATED: Bayonetta Origins: Cereza And The Lost Demon - Trial Of The Full Moon & Into The Unknown Walkthrough
The first part of this large chapter includes Sunspeckled Grove, a detour back to Lake Nimueh, and a brief foray into the Chalkroot Hollow. You'll find items now to learn advanced combat skills, and you'll encounter enemies that start proving an actual challenge. But it all begins with a well-deserved nap in the chapter's first Sanctuary.
Sunspeckled Grove, The Return
All Treasures
Journals
x2
Potions
x1 (Umbran Syrup)
Inferno Fruit
x1
Tir Na Nog
x2 (Persuance; Puncture)
Head due east to reach a Sanctuary. Here you can finally do a little saving and replenish any potions you may need.
Once you'd have some time to rest, go ahead and head just a bit south to activate the flower on the cliff's edge. Doing so will give you a shortcut back to the arena where you faced your first boss.
For some extra resources, you can throw Cheshire up on the ledge to the east and break open a few "pea pods" with his tongue.
Head north, taking care to pay attention to the timed turrets (you can run through or counter their attacks with Regular Form Cheshire), and destroy the wall with Wood Cheshire for a chest filled with lots of resources.
Following the pawprints on the main path, you'll come across a vine you can absorb and a Spriggan on the other side. Absorb the vine and use Wood Cheshire's Grab to take the Spriggan's shield and throw it back at it. A wave of reinforcements (including one more Spriggan) will appear. Defeat them to end combat.
Take a moment to gather resources in this area before going under the glowing door to continue. A journal will be directly in front of you to gather, and a number of resources can be found in this area too.
Once you attempt to cross the bridge, a troublesome Amadan (an "Apprentice Clown") will appear and lift the bridge, summon a carnivorous plant, and disappear. In order to continue, defeat the plant and then pull the lever to lower the first half of the bridge.
With the first half lowered, you can now use Cheshire's Wood Grab to lower the second half and cross safely. Now, you'll be able to climb the stairs.
Reaching the top of the stairs, you can take a quick detour into the room to the north to attempt an optional Tir Na Nog.
Tir Na Nog - Pursuance (Optional)
To begin this trial, send Cereza on the left scale to pull the lever above her head and Cheshire on the right scale to stand on the button. This will raise you to the challenge area.
The first section is an introduction to how this area will operate: every tile Cheshire steps on will appear on Cereza's empty side (and vice versa). Send Cheshire forward, and the tiles will appear for Cereza too.
Once both of them have crossed, there is a second - brief - section where stepping on a green tile on Cheshire's side will change the fence borders of Cereza's tile.
The third section is where the trial really begins. A black fog will appear behind you, and if it catches either Cereza or Cheshire, you will immediately die and need to restart the section.
Send Cheshire down the far right side for three squares, cross over to the left side (two squares), and go down the rest of the way to the main platform. Cereza should follow very closely and very quickly behind.
For the next section, Cheshire should start on the left side. Go down two squares, right one, down one to turn the fence button for Cereza, right one again, and down the rest of the way. Completing this section will stop the fog.
Like with the first puzzle, put Cereza and Cheshire on their respective scales in the next section to rise to the reward chest and complete this Tir Na Nog.
read moreAfter completing the Persuance Tir Na Nog and returning to Sunspeckled Grove, you can descend the mushroom ladder in front of it to open a chest for resources.
Doing this, however, means you will need to circle around to cross the bridge and climb the stairs again.
Sunspeckled Grove, Inferno's Influence
Going counter-clockwise around this wooden structure and jumping over the floorboard gaps, descend the next flight of stairs into an area where you can farm a few resources.
Take care that faeries like to hide in pots around this area.
Don't bother going across the mossy bridge just yet, as you don't have the means to remove the rock barricade.
Instead, go down into a cave-like area with a pond at its bottom and several hanging spiders. In this area, you should note the resource flower at the waterside, but more importantly, there's a puzzle chest to be found in the first alcove.
To open this chest, you'll need to:
- Skip the first golden bud and instead go northeast to activate the flower bridge.
- With the bridge in place, bind and attack the first bud to start the puzzle.
- Eliminate the first two on the ground nearby with binding and attacking.
- Cross the bridge and destroy the third bud there.
- Climb the mushroom ladder and destroy the golden bud on the north side.
- Time a run across the opening and closing flower to reach and destroy the fifth and final bud.
This chest contains a few resources and an Umbran Syrup potion.
With nothing else to do here, climb back up the grassy ramp to find another mushroom ladder. Climb it and follow the footprints until you see the clown faerie again with some minions. The minions are nothing you haven't faced before, so dispatch them as you please.
Defeating these enemies will earn you your very first Inferno Fruit. With this fruit now in your possession, you can learn Cheshire's first advanced skill: Bind Combo.
Before continuing past this point, take a short detour northward to grab the piece of Journal. Afterward, continue down the mossy tree, absorbing the flower in your way, and find a Sanctuary at the bottom. Here, you can take a moment to use your Inferno Flower to power up Cheshire.
If you're low on resources, you can find a chest of them behind a door Wood Cheshire can open on the left side of this area.
Continue up the branches again to encounter that annoying clown faerie again. It spawns two sets of flowers you'll need to run through on a timer.
The first set you should run through all at once, and the second you should run through one flower at a time - the first and third and second and fourth flowers open and close together as pairs. Once you pass these flowers, a growable ladder can be found, linking you back to the beginning of Sunspeckled Grove/end of Lake Nimueh where the Rotation Tir Na Nog took place.
A detour to get a few resources and find another optional Tir Na Nog is now open to you.
Lake Nimueh Detour
All Treasures
Potions
x1 (Blast Cocktail)
Tir Na Nog
x1 (Revengeance)
Going down the ladder, take care of the Spriggan in the nearby area. Continue back to Lake Nimueh, across the bridge with the faerie, and through the two large opening and closing flowers.
Grab the flower of vitality on the way down the mossy tree, but don't go past it and towards the water. Instead, drop into the area where three fae stand guard.
Stick to the path and ignore them, and instead of heading across the bridge you had summoned when first entering Lake Nimueh, you can now open the door to the right of it. Do so, and you'll find a treasure chest on the north side behind a flower of vitality guarded by a faerie. Absorb the flower and defeat the faerie to gain several resources and a Blast Cocktail.
Now head further east, absorbing flowers along the way, to eventually fall into an illusion trap. It's short, and the Tir Na Nog is only a few steps in.
read moreTir Na Nog - Revengeance (Optional)
This Tir Na Nog is a combat-only challenge, but it can be tricky thanks to the "Curse" traps that often spawn on the ground.
Your goal is to defeat all the enemies, but many of Cheshire's moves can accidentally send him flying into Curses. More than one hit will always result in Cheshire reverting to Hug Mode.
As such, you should stick to limiting Bind Combos and Chomp Attacks to a bare minimum, and having Cereza as a back-up to keep enemies from jumping into areas with traps is a good idea.
Once all enemies are defeated, you will be able to claim your prize and return to Lake Nimueh. There's not much else to do here, so go ahead and return to where you left off at in the Sunspeckled Grove.
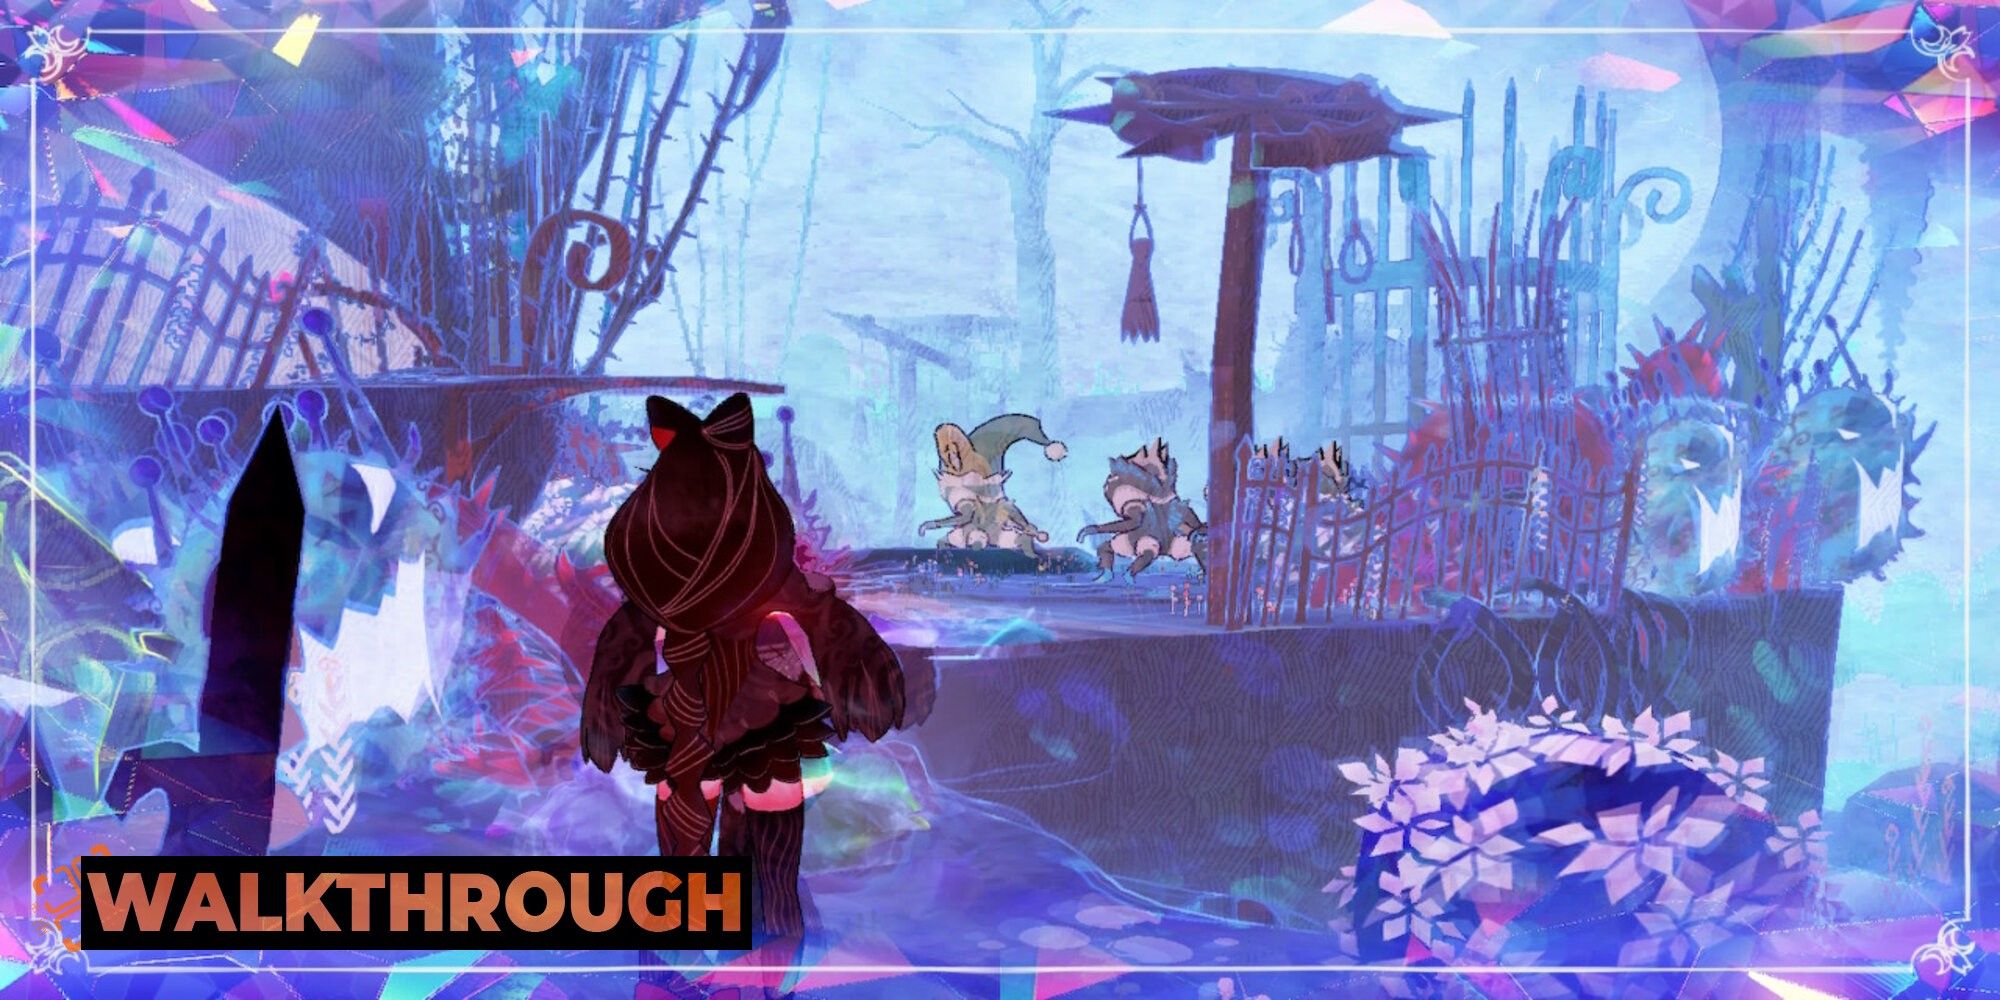
read moreSunspeckled Grove, Chasing The Circus
From the flowers the clown summoned and the Lake Nimueh shortcut, travel due east along the main path to eventually catch sight of the clown. Follow him, entering into an illusion field.
A mushroom will spawn in your way, blocking your path when you get too close to the jester, so you'll need to turn left and go around the long way. Pass by a crate you can't do anything with right now until you reach a ledge Cheshire can jump on.
Send Cheshire across to jump down onto the other side while Cereza goes further right and dispels the illusion on a flower. Once the illusion is dispelled, Wood Cheshire can Grab it to make a bridge for Cereza.
On the other side, you'll now meet enemies that you must dispel in order to attack. Dispel them each, revealing them to Cheshire's Slash. Once they're dealt with, you can enter the Tir Na Nog nearby.
Tir Na Nog - Puncture
Puncture is solely a combat trial, and it doesn't introduce any new combat mechanics or offer any particular limitation challenges.
That being said, there is a mini-boss to beware of called Bananach. He appears after the first two enemies are defeated and come in the presence of two more faerie allies.
Bananach is very easy to deal with and can be restrained with Thorn Bind. Keep him at bay with Cereza while Cheshire deals with his two minions.
Getting hit with Bananach's attacks can be devastating, and he does sprint across the arena in a charge attack that can be difficult to avoid when moving two independent characters. In addition, his use of a lance gives him a bit more melee range than most standard enemies.
Once the two minions are gone, you can keep Thorn Binding and Bind Comboing Bananach until he's defeated. His health bar is relatively low, so knocking him low enough to get in a good Chomp is all that is really needed here.
After Bananach is defeated, go ahead and claim your prize and return to the Sunspeckled Grove, but this time is the last time (we promise).
Before wrapping up Sunspeckled Grove, return to the box you couldn't move while in the illusion. Move it northward under the mushroom ladder so you can jump up and climb to the chest above.
Afterward, go ahead and progress past the Puncture Tir Na Nog site to a new area and the second part of this chapter.
NEXT: Bayonetta Origins: Cereza And The Lost Demon - The First Elemental Core Walkthrough