Baldur's Gate 3: How To Defeat The Shadow-Cursed Shambling Mound
The Shadow-Cursed Lands in Baldur's Gate 3 prove to be a constantly dangerous place. From driders to cultists to the constant shadow-curse, simply existing in this place seems nearly impossible, and sentient plants don't make your journey any easier.
RelatedBaldur's Gate 3: How To Get The Moonlantern
Do you really trust a pixie?
PostsAs you trot along, you may find yourself suddenly ambushed by disguised needle blights, or eaten alive by the Shadow-Cursed Shambling Mound. If you seek to defeat these beasts, then look no further; here's everything you need to know to survive your encounter with these plant monstrosities.
Where To Find The Shadow-Cursed Shambling Mound
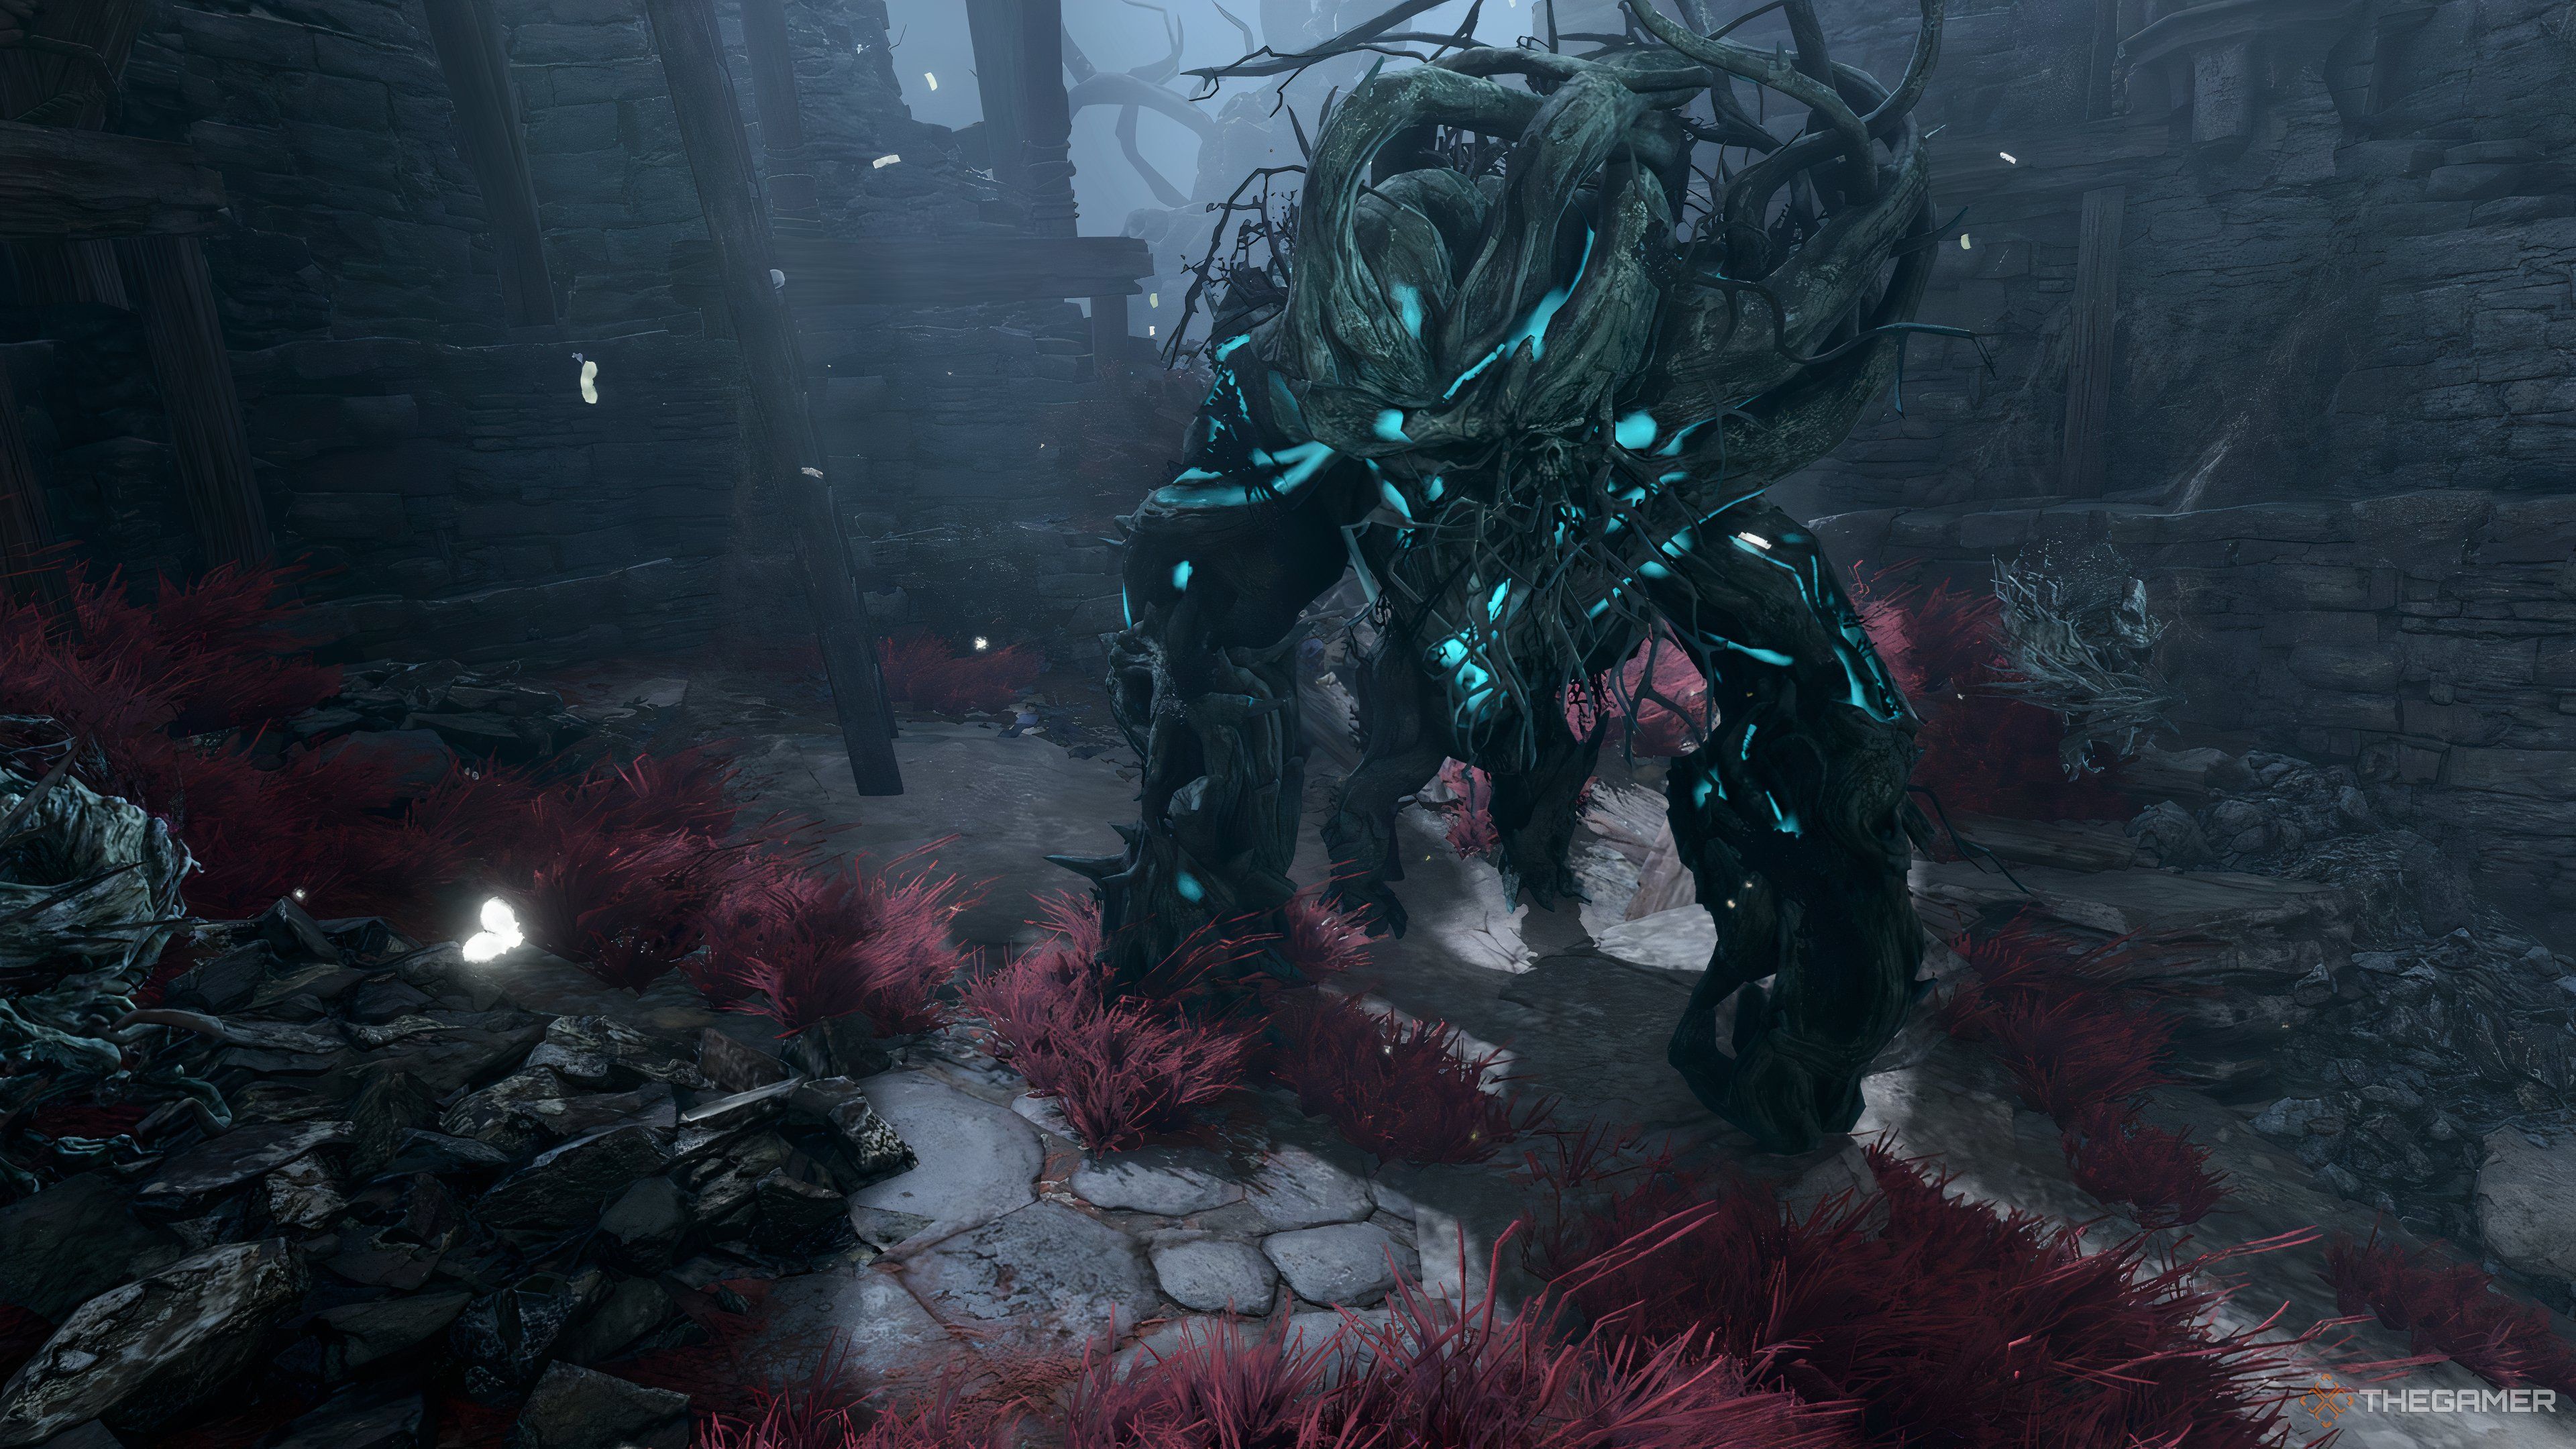
The Shadow-Cursed Shambling Mound is a mini-boss that shows up in the Shadow-Cursed Lands during Act II, and it can be found in a destroyed tower just northwest of the Shadowed Battlefield waypoint (X: 25 Y: 55). Once you reach the stone steps, the shambling mound should be visible.
Preparing For The Fight
Preparing for the shambling mound fight is the most important part of the fight. It can be a relatively easy battle, but only if you don't fall prey to the schemes of the needle blights.
Know Your Enemies
There are eleven foes to fight while you deal with the shambling mound; six needle blights, two vine blights, two undead Harpers, and the shambling mound itself, but despite the numbers being in the enemy's favor, you don't have to worry about the action economy. The needle blights will go down quickly, so focus your preparations on the vine blights and shambling mound.
Spells And Potions
The biggest obstacle you will face is the difficult terrain and the blights and mound's restraining actions. Because of this, Freedom of Movement will be your best bet when deciding what preemptive spells to cast, if you are high enough level or have scrolls.
Other spells to help out with this are Haste and Longstrider to make up for lost movement, Fly to avoid the terrain, or any sort of instant movement spell or effect, such as Misty Step or Jump. All of this will help with the difficult terrain slowing you down.
Lastly, all of the enemies deal necrotic damage along with their basic attacks, so you can drink an Elixir of Necrotic Resistance if you have one.
Plan Your Attack
The trickiest part about starting this encounter is the fact that vine blights cannot be surprised and that they will almost always surprise you. Luckily, there are a few ways to overcome this obstacle.
The first is to Crouch when you are nearing the area, just before the stone steps. This will show you the red highlighted area that marks what the blights can see, so use this trick to position yourself well before the fight.
While the vine blights can't be surprised, you can still make sure they don't surprise you. Attacking one before they see you will negate their surprise round, although unlike in other encounters when attacking first gives you a Surprise round, you can at least take theirs away from them.
Lastly, consider using Invisibility to position yourself for a big preemptive attack against the shambling mound and needle blights. You can go invisible to climb up to the scaffolding and drop a powerful AOE spell on the mound, or simply use height to your advantage.
The shambling mound does have an ability that will pull you towards it, meaning you will take fall damage if on the scaffolding. Use this method with caution.
RelatedBaldur's Gate 3: How To Find Thaniel's Shadow Half
How about a perfectly harmless game of Hide and Seek?
PostsFighting The Shambling Mound
The shambling mound is not a foe to be taken lightly; with many damage resistances, high damage output, and several loyal allies, this fight will definitely make you put in the work for the rewards.
Shadow-Cursed Shambling Mound's Stats And Moveset
HP:
156
STR:
20
DEX:
12
CON:
16
AC:
17
INT:
5
WIS:
12
CHA:
5
NOTABLE FEATURES:
External Digestion, Perfect Sentry, Superior Darkvision
ATTACKS:
Multiattack (action)
- Deals 1d8+4 bludgeoning and 1d4 necrotic per hit
-If both Slam attacks hit, the target becomes Entangled
Adhesive Whip (bonus action)
-15m range, pulls target towards shambling mound
-Chance to knock target Prone
Digestive Sap (bonus action)
-AOE cone
-Covers targets in Digestive Juices
-Digestive Juices deal 1d6 acid damage per turn and make target
vulnerable to piercing and bludgeoning damage
Devour (action)
-If a target is Restrained and covered in Digestive Juices,
the shambling mound can devour it and instantly kill it
In addition, the Shadow-Cursed Shambling Mound is resistant to:
- Necrotic damage
- Fire damage
- Cold damage
As well as immune to:
- Lightning damage
In Tactician and Honour Mode, the Shambling Mound's HP increases to 202, has Tanglevine Form, which can Restrain melee attackers, and also has Magical Resistance. In Honour Mode, the Shambling Mound also gains a Legendary Action that allows it to deal 3d10 necrotic damage to any creatures that ended their turn near it, and possibly entangle creatures as well.
The biggest threat that the shambling mound has is its high-damage Slam attacks, so play to your range if you can. If not, make sure you buff your armor class to make sure it doesn't hit twice, since two successful hits will Constrict you.
In the long run, though, the Digestive Juices can take a toll on your party, especially squishy melee fighters, since it makes you vulnerable to its Slam attacks. Likewise, that constant acid damage every turn is draining.
Luckily, the juices can be washed off with water, so throw a pitcher of that at your friends to give them a nice scrub-down and negate that acid damage.
The shambling mound can only use its Devour attack on creatures covered in its Digestive Juices, so washing off the juices will ensure combat goes smoothly if you are Restrained or Constricted.
Dealing With The Blights
Here comes the fun part; exploding all of the needle blights. While the amount of blights in this fight may, at first, seem overwhelming, you'll soon realize that having so many needle blights around is a huge advantage, as long as you know what to do with them.
Needle blights have the interesting passive ability where they will erupt into a Needle Burstupon dying, dealingmassive AOE damage to anyone nearby. This includes their allies and the other needle blights!
While letting the needle blights burst upon death and kill each other is a good strategy, you can also avoid their Needle Burst by using non-lethal attacks to finish them off.
Essentially, killing one needle blight leads to a chain reaction that will cause all the other needle blights to explode as well. The amount of damage they put off is easily enough to kill all the needle blights, the undead Harpers, and even the vine blights if you get them set up correctly.
The more needle blights that are together, the bigger the explosion will be since Needle Burst will do enough damage to kill all of the needle blights. This means that, if all six are together, you could potentially deal upwards of 300 damage throughout their six explosions.
Simply have one party member lure in all of the blights, then have another use a ranged attack to take out one of the needle blights. Be warned; the damage the needle blights will deal is more than enough to down your own party members, so keep a safe distance (at least 4m away).
When luring the needle blights in, consider using a caster who can Misty Step away, or a Rogue / Monk who can quickly Disengage.
The vine blights don't have much of a strategy to make them easier; they can Constrict from a distance, so even keeping your range doesn't have as many benefits. Just keep pummeling them until they go down, and break their Constrict concentration when you can.
The Harpers are, likewise, easier foes than the needle blights and shambling mound. They only make main-hand weapon attacks, and their reduced hit points and stats make them easy to kill.
Rewards
Unfortunately, the rewards for defeating the Shadow-Cursed Shambling Mound are slightly underwhelming given the challenge of the fight. The biggest reward you will receive is that your party members will earn 830 XP each if you kill every enemy.
The shambling mound has the Ironwood Club on its body, which is an uncommon melee weapon.
All of the blights and the shambling mound have various rare alchemy components on them, either Wood Bark or Shadowroot Sacs. The undead Harpers have Putrefied Tumors on them, as well as some armor and weapons.
Lastly, you can explore the tower and the scaffolding above for one final reward; on top of the iron ladder there are wooden platforms, where a skeleton can be found. This skeleton has a diary that talks about nearby treasure and explains that there is a key nearby, right next to the skeleton's body (X: 30 Y: 50).
This key can be used to open the chest just across the way from the skeleton (X: 27 Y: 65). Inside is the Ring of Self Immolation, a great item to have if you're using a Heat build on one of your characters!
NextBaldur's Gate 3: How To Defend Isobel
Extinguish the flaming fist.
Posts