Let's Sink The HMS Sovereign And Royal Sovereign In Black Flag
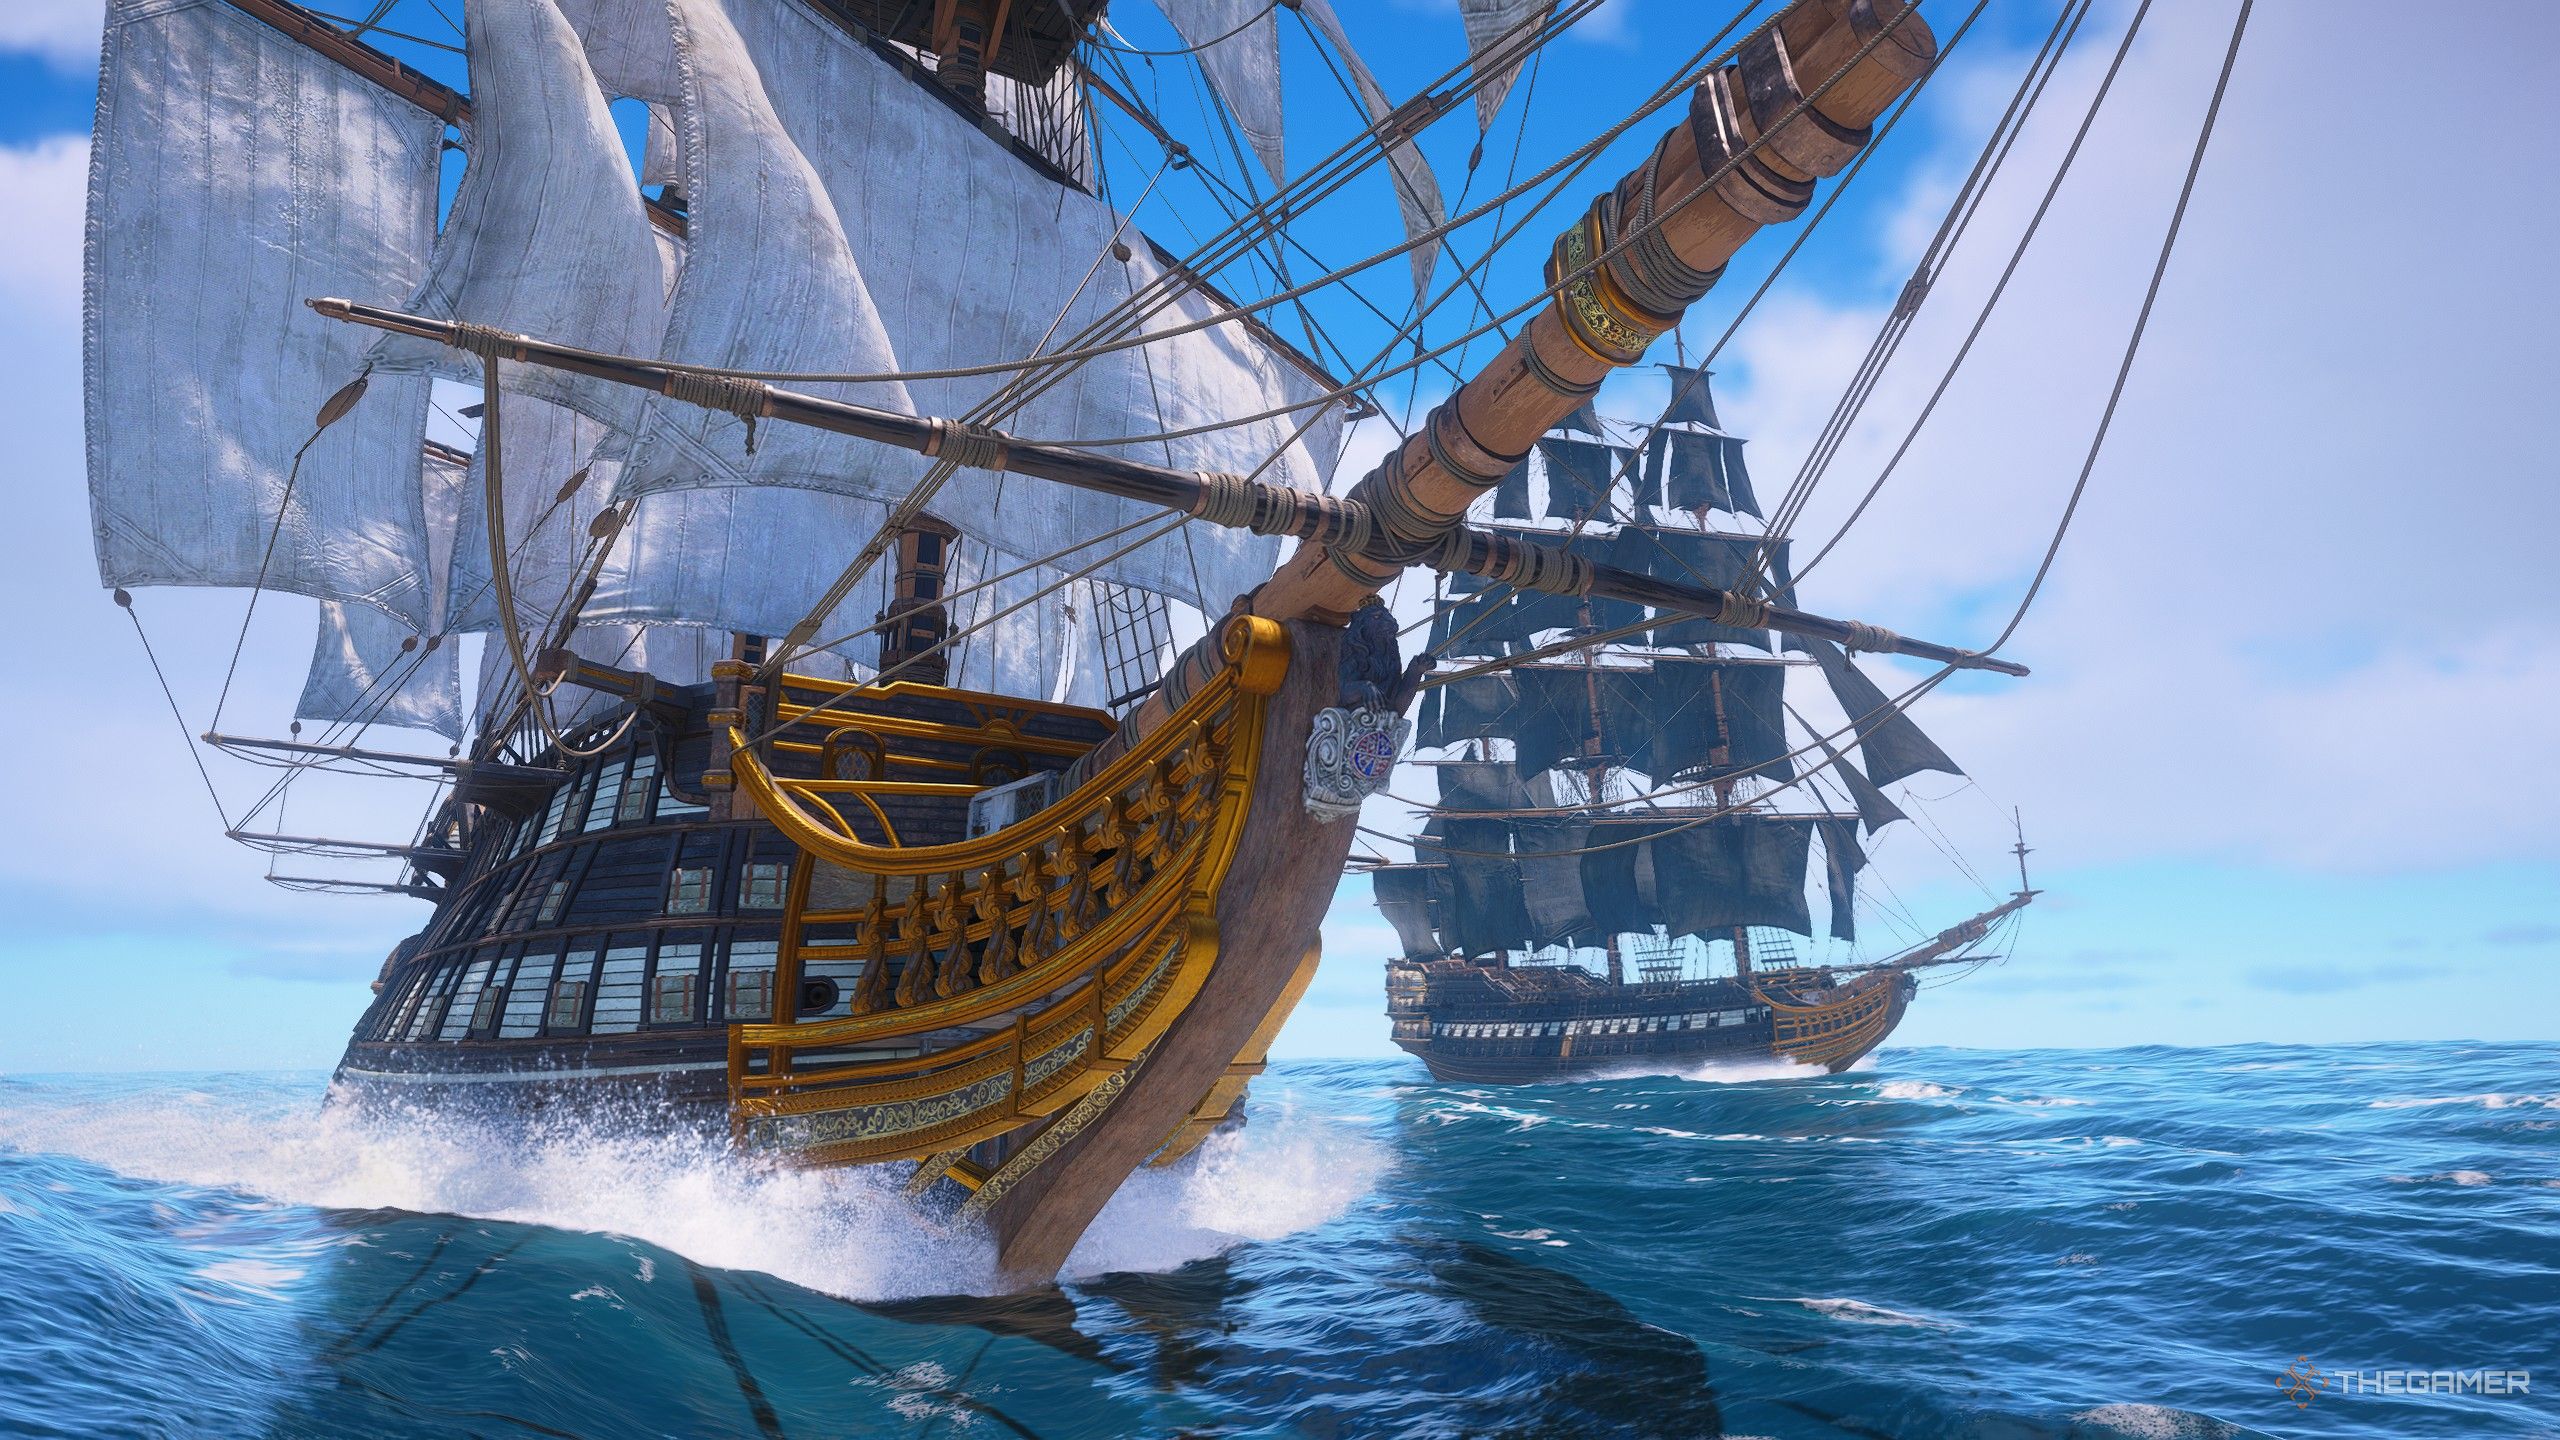
There are a lot of dangers in Assassin's Creed: Black Flag Resynced. From soldiers to dangerous animals to even rival pirate crews, there are a ton of things trying to cut your criminal career short. However, the apex predators of the Caribbean are the legendary ships that you can fight.
Acting as the ultimate naval challenge, the legendary ships are the toughest bosses in the game and will provide you with unique cosmetic rewards if you can beat them. One of these boss fights is with the duo of the HMS Fearless and Royal Sovereign, who can easily overwhelm you due to their numbers and damage output.
If you're looking to sink these legendary ships, here's what you need to know.
How To Beat The HMS Fearless And Royal Sovereign
As the name of these boats suggests, this is a 2v1 fight with both ships attacking you at the same time. The HMS Fearless (Black Sails) and the Royal Sovereign (White Sails) can be pretty tricky to deal with, as you can find yourself under constant cannon fire if you're not careful. However, you can actually use their teamwork against them in quite possibly the dumbest way possible to defeat them.
That being said, before you even attempt this fight, I strongly recommend upgrading the Jackdaw as much as possible. These ships are stronger and tougher than Man O' Wars, meaning you'll want a nearly maxed-out Jackdaw if you want to claim victory in this fight. Prioritize upgrading your ship's hull armor, Heavy Shot, cannon numbers, Swivel Gun, and cannon damage first, as they will be your primary way of fighting these bosses.
When the fight starts, make your way to either the left or right of the duo to avoid them broadsiding you on either side, and then drop anchor. For this battle, we're actually going to be basically immobile for the entire fight. This makes it infinitely easier to both damage and manage these two enemies at once than if you've been sailing around.
The pair will always follow the same attack pattern with you anchored, with them moving to trap you between them while they fire their cannons. Once they finish their volley, the ships will sail past you and then turn around to repeat the same attack. This will not change until one of them is destroyed. Because of this, you can just sit there and shoot at them as they pass by without taking unnecessary cannon fire.
After you're in position and stationary, focus on turning with the ships, so you are always facing the direction they are coming at you. This is because after you launch a broadside while they pass, you can use the frontal guns to shoot one of them in the back as they sail away. Considering the frontal Heavy Shot does quite a bit of damage, being able to consistently hit this will speed up the boss fight quite a bit.
Turning with them also provides us with two additional benefits, with the first being that we can lay Fire Barrels in the path of whichever ship our stern is facing as we turn to align ourselves with them. Whichever boat ends up going down that side will run right into the Fire Barrel, taking additional damage and heavily damaging it.
The second reason we want to turn with the pair is so we can broadside them with normal cannon fire from afar before we face the same direction they are. Mortars are also a good option, as the pair follows such a predictable path; you can almost always land the mortars once you learn their pattern and speeds.
All that being said, the big moment for this strategy is when the Royal Sovereign passes by both sides of us to launch a broadside. When they come into range, fire your Heavy Shot cannon at one of them and then get ready to perform a perfect brace to negate their incoming cannonballs. Both ships fire at roughly the same time, so if you can time your brace for right before one of their attacks hits you, then most of the damage can be negated.
Remember, you can actually fire both sides of your cannons by looking to one side, firing, then quickly moving the camera to the other side of the Jackdaw and firing those cannons. This, if timed correctly, allows you to hit both ships when they pass. The timing is very tight, and you'll need to perform a brace right after you fire the second set of cannons.
Perfect bracing is key to success. If you cannot consistently perform this defensive maneuver, then you'll almost certainly fail. While the Royal Sovereign's attack pattern is exceptionally predictable, this is at the cost of them doing a silly amount of damage if you don't block it. Always prioritize performing a perfect brace when they attempt to broadside you, even if you don't have time to shoot back at them.
The last major tactic for this fight is to try and damage the pair equally. You don't want to solely focus on one of the ships and leave the other at full health. This is because when one sinks, the other becomes incredibly aggressive and will attempt to ram you. It breaks the predictable path they follow, making the battle way harder than it needs to be.
After they lose a third of their health, both ships will start deploying Fire Barrels of their own as they sail by. This, actually, is to their detriment, as you'll never be in the path of those barrels if you remain stationary. Additionally, you can use your Swivel Gun to shoot their own barrels and damage one of the ships since they will pass right by them.
Eventually, you will whittle away their health until one of them is destroyed. I strongly recommend only sinking one of the ships when the other one can be brought down by a concentrated volley of cannon fire. This is because when one of the boss ships is destroyed, the other will immediately attempt to ram you and become way more aggressive.
Minimizing this by sinking one right after the other will ensure you don't need to worry about being rammed and can quickly bring this fight to a close. When the HMS Fearless and Royal Sovereign are destroyed, you will earn their unique sails, figurehead, hull, wheel, and 12,000 Reales in your pocket.