Exploring every nook and cranny in Another Crab's Treasure is definitely a rewarding action. Since the map in the game is not very functional, when you traverse the areas, you encounter rewarding things. Among these could be a good shell, maybe a stowaway suitable for your build, or the in-game currency, microplastics.
RelatedAnother Crab's Treasure: Grovekeeper Topoda Boss Guide
This Mantis Shrimp boss in Another Crab's Treasure is a difficult beast.
PostsSometimes, however, wandering too much can lead you right into the heart of danger. Setting aside the challenging enemies, if you happen to be in the wrong place, you might even encounter an optional boss. One of these optional bosses is The Consortium. If you're ready to face it, reading this guide will be beneficial for you.
Where To Find The Consortium
To find this optional boss, you need to start from the Oil Drum fast travel point in the Expired Grove. Then, head east and pass through the inside of the car tire. Follow the path and pass through the inside of the second car tire. You'll see sugar canes holding up the platforms on the cliff. Go to the third sugar cane you see.
As an alternative, if you have the Mantis Punch adaptability, you'll see an Umami Cube on the left side of the first car tire before entering it. If you break it and follow the path, you can reach the platforms above the sugar canes.
You need to climb onto the rock to the right of the one sugar cane's on, but be careful not to slip. Once you climb onto this rock, look up and you'll see a hook. Jump into the gap ahead and use the hooks to jump onto the platform to the south. There will be a brown milk carton on the platform you jump to.
Inside this milk carton is the Valve shell. It's quite durable and preferred for this battle.
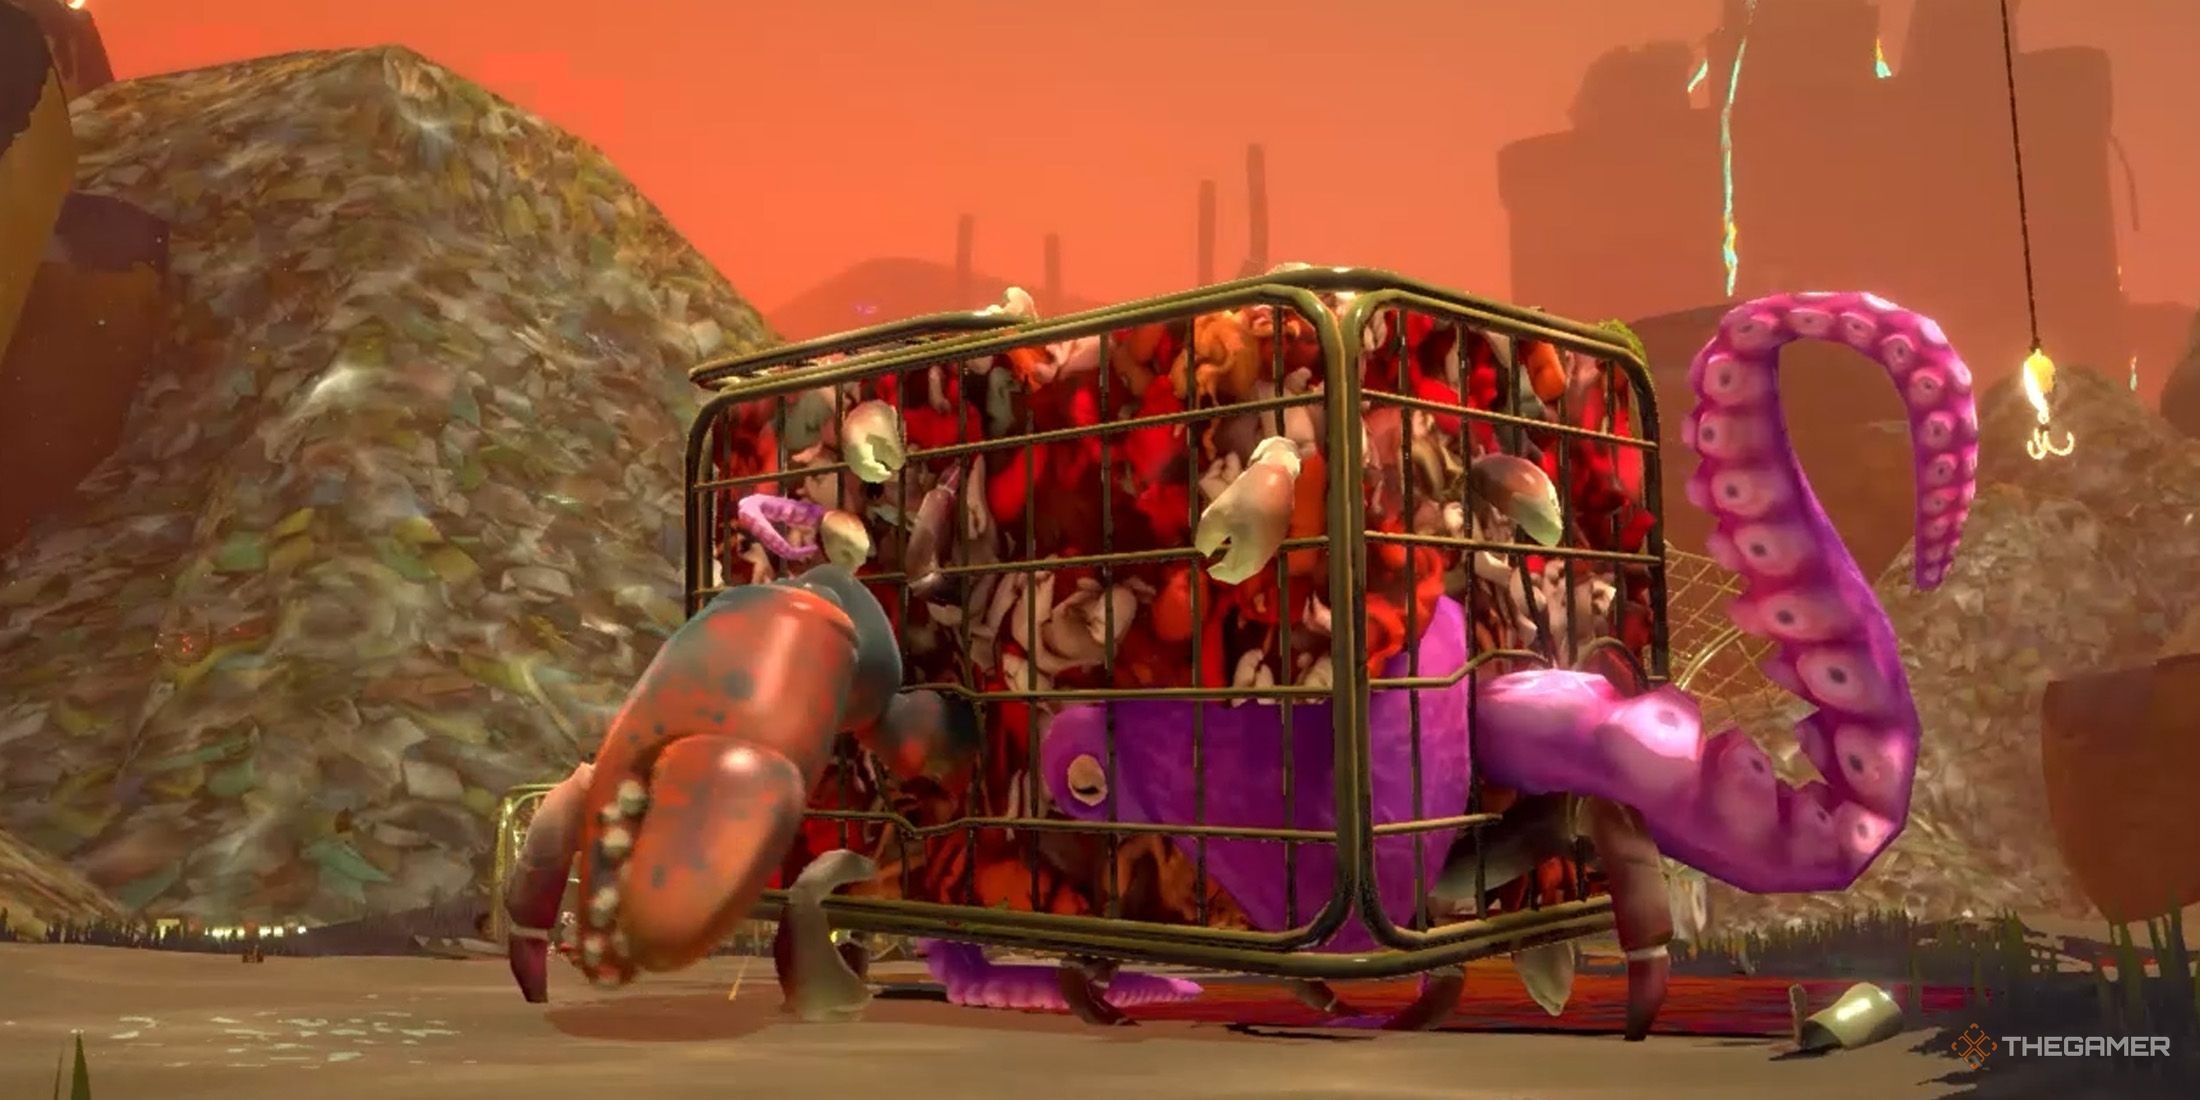
Then, without falling down, head southward across the upper platforms. When you've progressed enough, you'll see one of the fishing rods that functions as a shortcut to the east. Jump to the fishing rod's area and follow the path behind it. This will lead you to Flotsam Vale. In the area ahead, you'll see red objects trapped in a cage. When you approach it, the boss battle will begin.
Pre-Fight Preparations
Recommended Stats
If you've brought a sturdy shell for this boss, you'll need more VIT stat than RES stat. However, since the boss itself inflicts slow but heavy damage, you might want to keep these stats between five and seven.
Additionally, depending on your build, you can allocate ten points to either ATK or MSG stat. It may not be a good idea to allocate points to both.
Choosing either the physical damage or magical damage path and building accordingly to deal solid damage to the opponent will be useful. Being between levels 20 and 25 should suffice to confront this boss.
Recommended Shells
While battling this boss, you need to decide: either come with a shell that has high defensive value to withstand its slow but heavy-hitting attacks, or come with a light shell that won't slow down your movement and dodge. Additionally, when coming to face this boss, the Valve inside the brown milk carton is a quite heavy but highly effective shell.
The Skull, on the other hand, is both defensively strong and can revive you once, which can be useful in this battle. Shells like Coconut or TennisBall, which have the Rollout ability, can also be preferred due to their high maneuverability provided by their abilities.
Recommended Stowaways
You should equip the most suitable stowaways for your build. If you're not fond of danger and want to finish this battle quickly, Another Crab will be useful since it will revive you once. Additionally, any stowaway that provides extra VIT or RES is valuable for this battle.
Recommended Skills
To deal extra damage to the Consortium, Aggravation is a skill that will be quite useful. Additionally, Self-Repair is indispensable among skills for your shell to withstand more. If you're using a magic build, unlocking Housewarming and two separate Umami Training skills can make you even more effective.
Find Collectibles To Strengthen Kril
Additionally, don't forget to collect Stainless Relics to enhance your fork, improve your health with Bloodstar Limbs, and increase the maximum number of Heartkelp Pods you can carry with Heartkelp Sprout.
How To Beat The Consortium
One of the things that sets the Consortium apart from other bosses is not just its colossal size. Also, because this boss is a combination of multiple marine creatures, you have to cut the ropes of the cage that trap them in order to defeat it. Therefore, unlike other bosses, randomly attacking this boss will not be of any use.
Here are the attack patterns of this boss:
Attack
Range
Attack Description
Ground Pound
Short
(Crushing Attack) The Consortium slams its body onto the ground while staying in place, attempting to crush you.
Pincer Smash
Short
It strikes the ground a few times towards the direction of the crab arm in the Consortium.
Pincer Sweep
Medium
It swings the crab arm in the Consortium in a wide arc horizontally.
Tentacle Sweep
Medium
The Consortium swings the octopus arm from top to bottom.
Octo-Sweep
Medium
It swings the octopus arm in the Consortium horizontally.
Charge & Fall
Medium
The Consortium charges towards you, attempting to deal damage. Then, it topples over, exposing its underside.
Explosion Shot
Long
The gun-carrying octopus arm of the Consortium fires towards you, causing an explosion upon impact. Even if you block, this attack still inflicts some damage.
To defeat the Consortium, you must cut six ropes to release the sea creatures inside. Four of the ropes are located towards the front, where the large crab claw is. From the direction of the claw, the Consortium employs various attack patterns. These attacks are usually slow, allowing you to anticipate when they will strike.
Be cautious when cutting the front ropes to avoid incoming attacks while blocking. Avoid risking yourself to parry them since it's not easy.
Furthermore, the Consortium's Ground Pound attack is highly dangerous and deals significant damage. This attack falls under the Crushing Attack type, indicated by a blue warning icon when it's about to execute.
When it's about to perform its long-range attack, the Explosion Shot, it's best to evade by running away from the area where the shot will be fired instead of blocking. Even if you block, this attack will still inflict some damage.
The Consortium also has two ropes on top of it. You can use the fishnet at the back or the hooks in the area to climb onto it. While attempting to cut these two ropes, the Consortium will fire its gun-carrying octopus arm at you. Be cautious of this attack while cutting the ropes. It's wiser to leave or start with the ropes on top for cutting.
The Consortium Rewards
By defeating the Consortium, you earn 10,000 microplastics and 22 Umami Crystals. Additionally, you acquire the Tactical Tentacle adaptation. Here are the details of this adaptation:
Description
Summon a tentacle of pure Umami that attacks along with you as you swing your blade.
First Upgrade Benefit
Size and summon duration increased.
Second Upgrade Benefit
Increased damage. Tentacle attacks heal Kril for a percentage of damage dealt.
Furthermore, by defeating the Consortium, you can open a shortcut near the Company Town in Flotsam Vale.
NextAnother Crab's Treasure: Royal Shellsplitter Boss Guide
This terrifying executioner makes for a brutal optional boss in Another Crab's Treasure.
Posts