In Another Crab's Treasure, defeating enemies typically involves physical attacks with Kril's fork. Perhaps this is because you obtain the fork early in the game and become familiar with it.
RelatedAnother Crab's Treasure: Shell Location Guide
Shell yeah! Dive deep into our shell collection guide and become a crustacean connoisseur.
PostsHowever, later on, with the Umami abilities you learn from the Moon Snail, Kril can also be quite effective in battle by casting various spells. Among these magical abilities are the Shell abilities you can perform. Then, by learning Adaptations, Kril can perform quite different and effective spells. If you want to find all of these Adaptations, you're in the right place.
What Are Adaptations Used For?
Adaptations are the spells you acquire by defeating bosses in the game. It wouldn't be far off to call them the signature attacks of the bosses you face. Like Shell abilities, Adaptations also consume Umami charges. Some of them you obtain by defeating main bosses, while for others, you need to seek out optional bosses and defeat them.
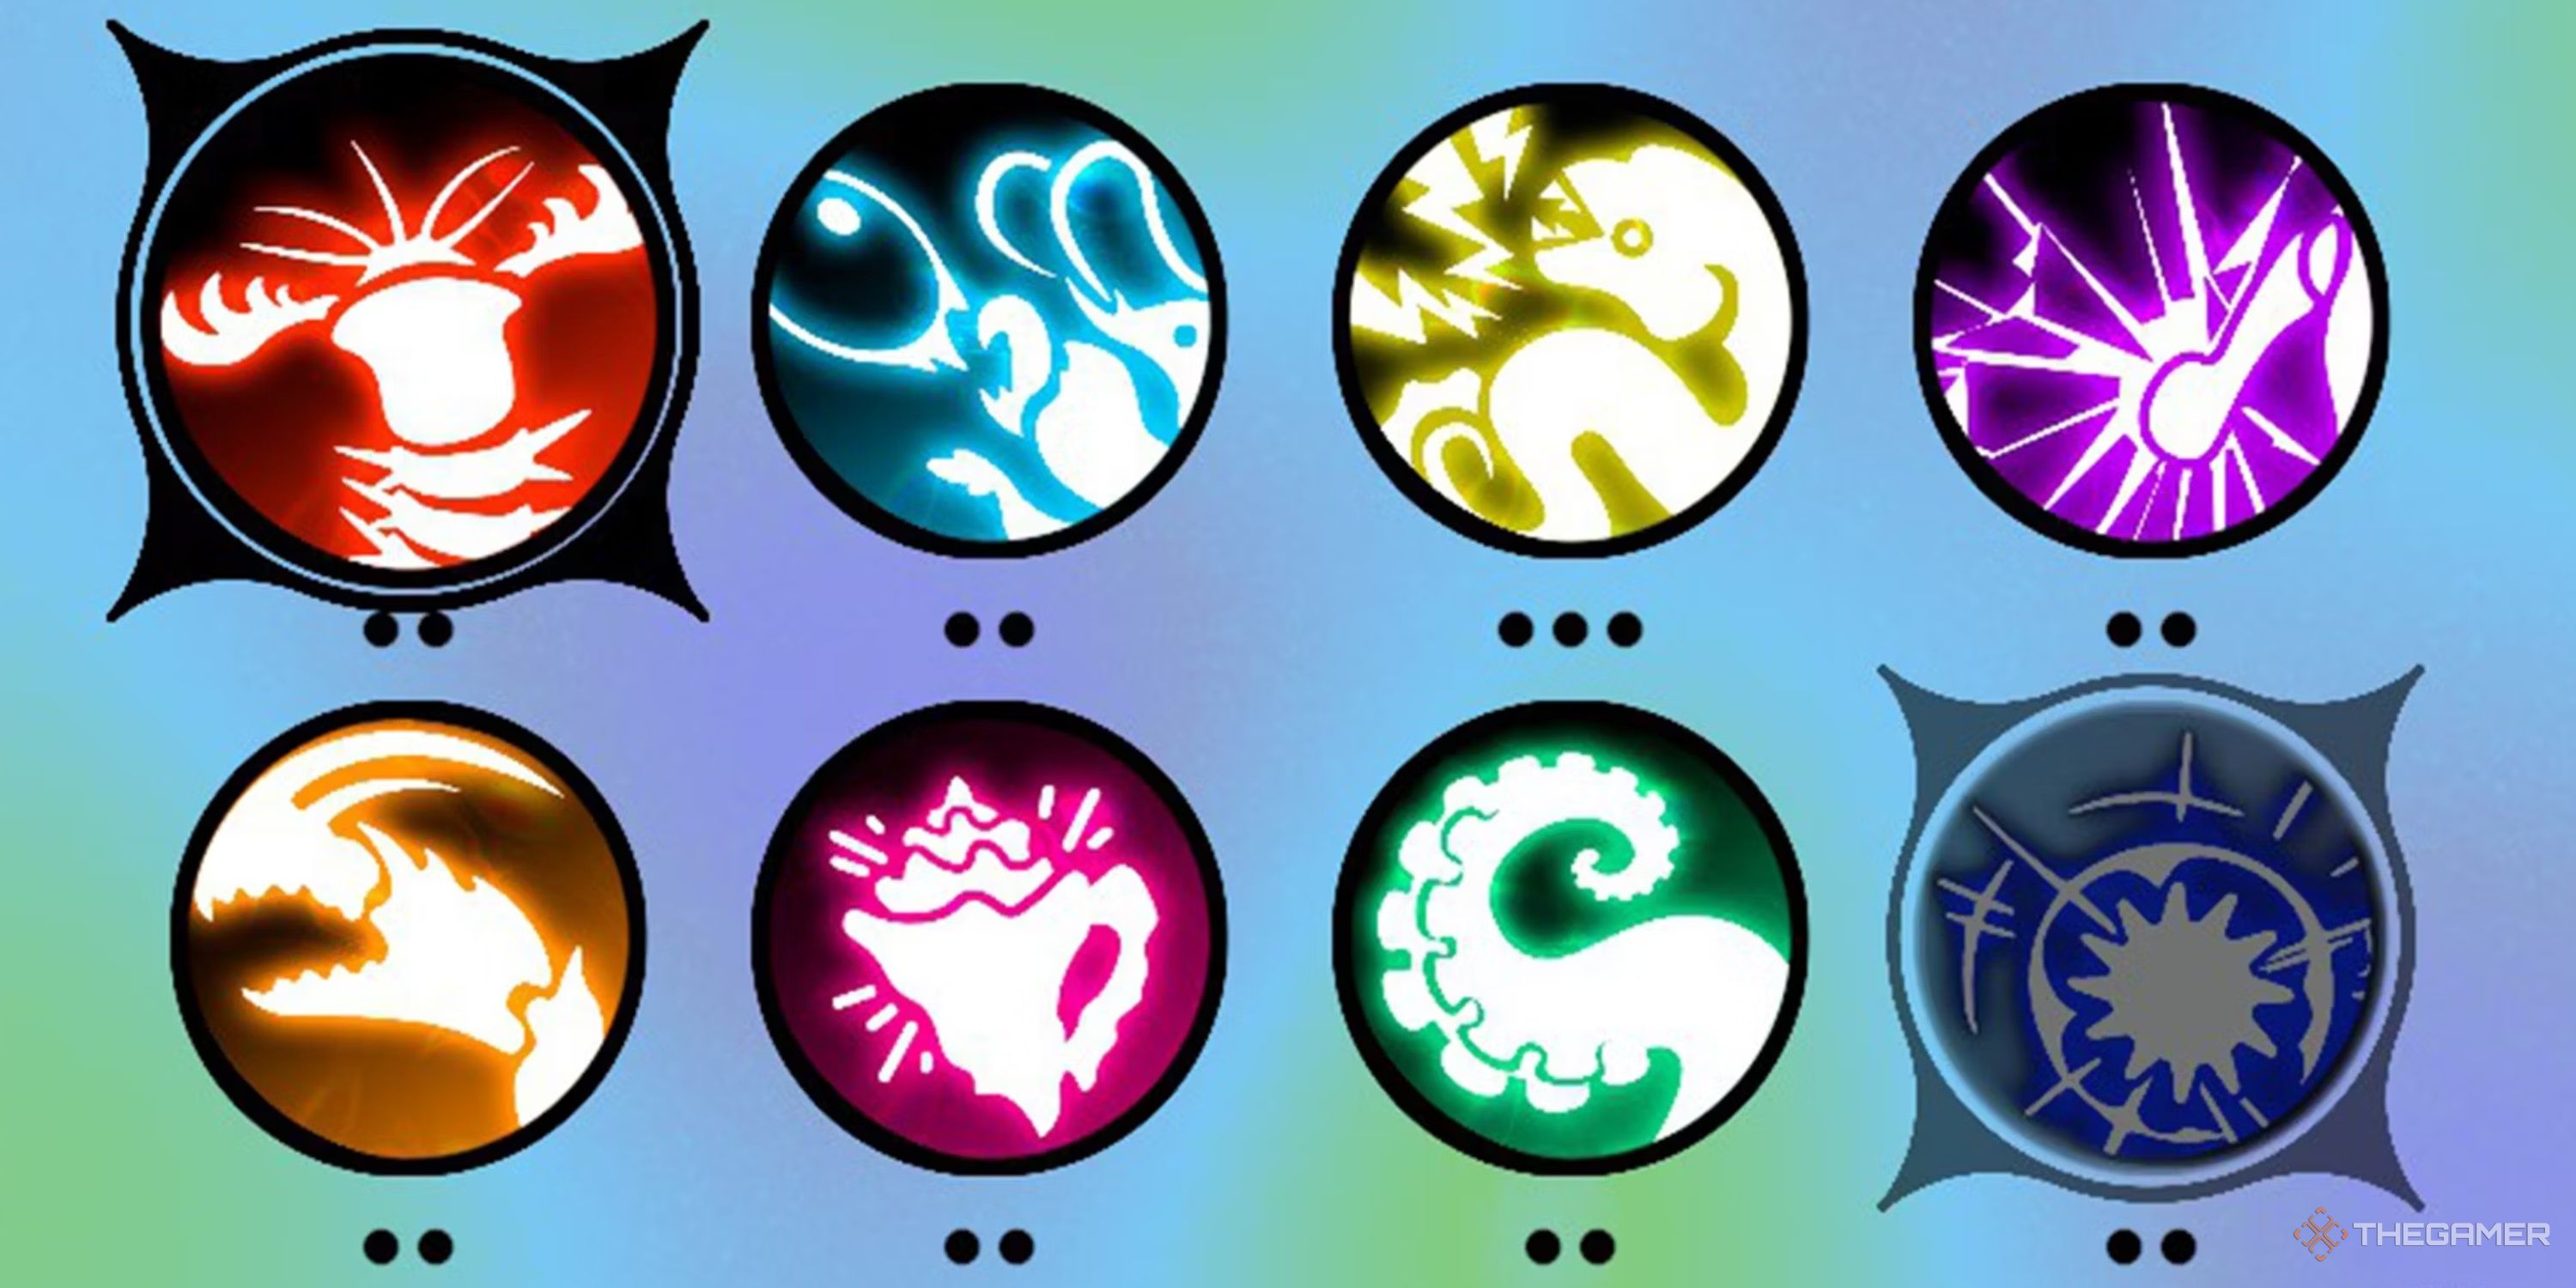
There are a total of eight Adaptations you can acquire. You can only carry two of them at a time, but you can switch between them and the ones you've learned at any time in your two Adaptation slots.
You unlock the 'Well Adapted' achievement when you learn all eight Adaptations in the game.
How To Upgrade Adaptations
It is possible to upgrade Adaptations up to two times, which adds additional effects. To make these enhancements, you need to defeat the optional boss Topoda in the Expired Grove and then speak to him.
However, Topoda won't upgrade them for free. You'll need to spend a certain amount of Purple Crystals for each upgrade. The cost to upgrade them to level two is 25, and the cost to upgrade to level three is 50 purple crystals. Fortunately, you can find plenty of Purple Crystals by exploring the vast areas of the game.
How To Obtain Royal Wave Adaptation
This is the first Adaptation you'll obtain in the game. To acquire this, you need to defeat Duchess Magista located in Fort Slacktide. Since Magista is one of the mandatory bosses you have to defeat in the main storyline of the game, you can't miss this opportunity.
Description
Subjugate enemies in front of you with a massive swipe of a Dungeness Crab’s claw, causing them to briefly take increased damage from all sources.
First Upgrade Benefit
Size and damage increased.
Second Upgrade Benefit
Cost lowered by one Umami charge.
How To Obtain Urchin Toss Adaptation
Head to New Carcinia and reach the Moon Snail Shell in Lower Crust. Proceed south from there. You'll encounter a sea urchin named Ercih. Talk to it and exhaust its dialogue. Then, a conversation will ensue about how difficult it is to hug it.
Persist and keep touching it repeatedly to take damage. Keep touching it persistently until it gets annoyed and eventually gives you this adaptation.
Description
Throw an urchin that sticks to enemies before exploding.
First Upgrade Benefit
Pulls enemies toward the Urchin with the Power of the tides.
Second Upgrade Benefit
Size and power increased.
How To Obtain Bobbit Trap Adaptation
CloseStart at the Central Vista starting point in Sands Between. Jump down from the elevation you're on and head south. When you reach the mossy rocks with the tennis ball shell, you need to head west. Pass the large spike, and after traveling quite far west, you'll see an object resembling a large red box.
Take the red box to your right and continue heading west. When you reach the edge of the cliff, keep the cliff on your left and head northwest. Eventually, you'll reach a large thorny terrain. Be careful in this thorny area because the worms coming out of the X-marked spots on the ground will destroy your shield.
When you arrive at the northwest of the area, you'll see a yellow sparkle in front of three green spike-like rocks next to a large box-like object. When you collect this, the adaptation will be yours.
It would be beneficial for you to defeat Pagurus the Ravenous, who haunts you before reaching this area in Sands Between. Unless you defeat him, you won't be able to navigate Sands Between comfortably. Since a part of the treasure map is on him, you must defeat him eventually.
Description
Place a spectral Bobbit Worm to ensnare devour any enemy that walks across its hiding spot.
First Upgrade Benefit
Deals damage over time to the trapped enemy.
Second Upgrade Benefit
Traps the enemies for longer, and makes them take increased damage from all sources.
How To Obtain Mantis Punch Adaptation
To acquire this Adaptation, you need to defeat Topoda, one of the optional bosses in the game. If you're attempting to complete the main story normally, you may not find the area where Topoda is located.
If You Haven't Unlocked The Shortcut To The Village:
Begin from the boat where you fought Heikea. Descend from the blue fishnet located south of the boat. Enter the cave and proceed straight ahead. Climb onto the netted balloon, jump to the left, and continue from there. You'll see a few more netted balloons ahead; cross over them to reach the opposite side.
Once across, turn west from the butter churn and jump over the blue netted balloon to reach the red balloon. Then reach the wall with sea urchins to the left. Use the fishing rod and unlock the shortcut. Then head north, cross over the walled fishnet area, and proceed until you find a Moon Snail Shell. This area belongs to the Curdled Village fast travel point.
The village is a highly dangerous place, so don't move without clearing out the enemies there.
Jump down from the northwest of the Moon Snail Shell. Go completely west to reach the green cardboard milk box where the sniper is located. Go further west and unlock the shortcut leading to the boat where you fought Heikea.
How To Find Topoda:
Unlock the shortcut and return to the village from the boat's door, but turn north before reaching the green milk carton where the sniper is located. After dealing with the hammer lobster, reach the end of the ramp. Jump to the pillar-shaped rock. From there, jump to the area to your north. After a short distance, use the hooks to reach the high area.
Head northeast. You'll see another hook, use it to jump to the blue balloon. From the blue balloon, jump to the green one. Continue north. After that, reach the netted area below the cliff. Climb up the wall using the fishnet to reach the upper area. Proceed west, pass through the wheel. When the path forks, continue following the southwest path.
When you reach the mossy area at the end of the trail, you'll encounter Topoda; a tough battle awaits you. After defeating him, you'll learn Mantis Punch.
Besides being an effective and powerful adaptation, Mantis Punch also serves to destroy Umami Cubes in the game, allowing you to access hidden areas.
Description
Unleash the overwhelming might of a Mantis Shrimp to demolish your enemies or certain Umami-infused objects.
First Upgrade Benefit
Protects Kril from being interrupted while charging.
Second Upgrade Benefit
Move with imperceptible speed before reappearing in front of your target.
How To Obtain Tactical Tentacle Adaptation
You will obtain this adaptation by defeating an optional boss named the Consortium.
Begin at the Village Gates fast travel point in the Expired Grove. Head west from the boat you're on and pass through the tire. The path will split. Proceed left and lower the cardboard bridge. Reach the end of the bridge, turn left, and you'll see an Umami Cube. Destroy it and follow the path. You'll come across cardboard platforms and milk cartons below.
Jump to where the first milk carton is located. Then jump to the point with the milk carton at a high point to the south. Without jumping down to the lower area, head south towards the high area. You'll see a hook above. You'll land at a point where there's a brown milk carton. Head south and progress over the cardboard bridges without jumping down.
Continue south over the high points of the cardboard platforms. Eventually, when you've progressed enough, you'll see a shortcut reel to your east. Reach it. Follow the path southeast of the reel. You'll enter Flotsam Vale. Eventually, you'll see red objects inside a shopping cart. Approach it, and you'll encounter the optional boss, Consortium.
Description
Summon a tentacle of pure Umami that attacks along with you as you swing your blade.
First Upgrade Benefit
Size and summon duration increased.
Second Upgrade Benefit
Increased damage. Tentacle attacks heal Kril for a percentage of damage dealt.
How To Obtain Bubble Bullet Adaptation
Defeating one of the main bosses, the Ceviche Sisters, in Flotsam Vale will grant you this adaptation.
Description
Mimics the Pistol Shrimp’s might projectile, firing a damaging bubble of Umami.
First Upgrade Benefit
Fires a larger bullet that can Capsize an enemy.
Second Upgrade Benefit
Hold the button down to fire rapidly.
How To Obtain Electrocute Adaptation
Defeat Voltai, one of the main bosses in Flotsam Vale, to obtain this adaptation.
With this adaptation, you can electrify robot crabs found in various locations in the game and access hidden areas.
Description
Call upon a playful eel to shock nearby enemies or power certain equipment.
First Upgrade Benefit
Summon duration increased.
Second Upgrade Benefit
Damage and stun duration increased.
How To Obtain Snail Sanctum Adaptation
You can obtain this adaptation by defeating one of the main bosses in The Unfathom, Petroch, the False Moon.
Description
When naked, use it to summon a shell made of pure Umami.
First Upgrade Benefit
Gives Spirit Conch a Shell Spell.
Second Upgrade Benefit
Greatly improves Spirit Conch's stats.
NextAnother Crab's Treasure: Outfit Location Guide
Looking for all the outfits in Another Crab's Treasure? We've got you covered.
Posts