Quick Links
- Lamellar Warrior Overview
- Lamellar Warrior Boss Fight Guide
You will encounter many bosses inAfterimage's world of Engardin, some being much more complex and challenging than others, while the rest are relatively straightforward to take on. Nonetheless, every boss has something to offer, and they can all be problematic in their own ways.
RELATED: Afterimage: Combat Tips
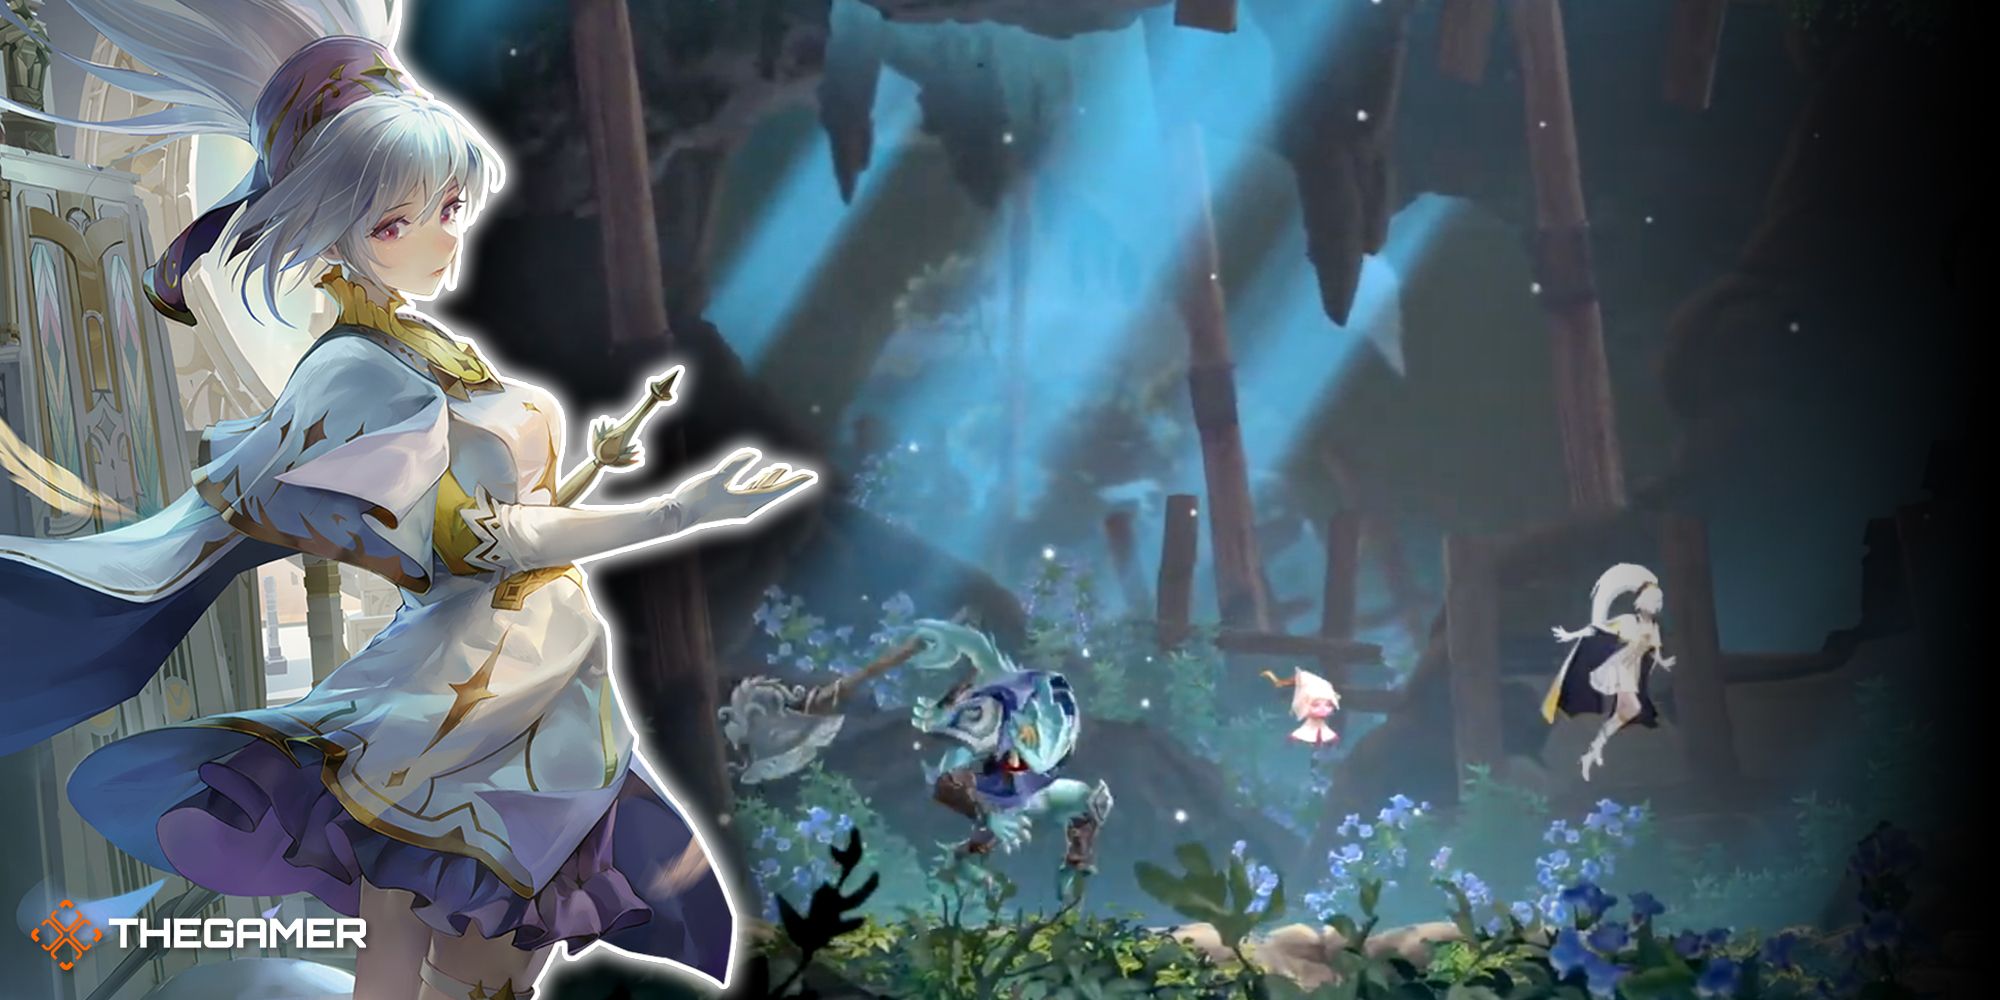
Some bosses offer very little when defeated and serve only to advance the plot, while others grant you unique Afterimages, enabling you to access previously blocked areas. The Lamellar Warrior falls under the latter category, giving you access to the ability to Dash while grounded or airborne, giving you much more freedom with your movement than ever before.
Lamellar Warrior Overview
After defeating the Lush Wolf, you will be prompted to head to Resting Town, having you traverse through the Rainbow Plains first before you arrive.
However, you must get your hands on the Emblem of Windwalker Afterimage to clear a sizable gap blocking your progress to Resting Town. The Lamellar Warrior drops this Afterimage, allowing you to Dash freely while grounded or airborne and cover great distances in a flash.
You can find the Lamellar Warrior by heading east of the first Confluence you stumble across in the zone, then dropping down the opening below the raised drawbridge. From there, descend all the way to the bottom of the area, then head west to reach its arena!
Lamellar Warrior Information
HP
495.5
Level
11
Attack Power
20.7
Optional?
No
Zone
Rainbow Plains
Drops
Emblem of Windwalker
x1Talent Point
+62 EXP
Lamellar Warrior Boss Fight Guide
Despite the Lamellar Warrior giving you one of the best traversal Afterimages in the game that will take your exploration and combat to the next level, the encounter itself is surprisingly straightforward and underwhelming.
The Lamellar Warrior only has three attacks, all of which are easy to avoid once you know what you're looking for. While they will spam these three attacks rapidly and fiercely, they are easily telegraphed and punishable, giving you the upper hand in most situations.
While this encounter is arguably much easier than even the Lush Wolf battle, we recommend using a Weapon with decent reach, such as the Whip or Scythe, as they will allow you to hit the Lamellar Warrior from just about anywhere shortly after dodging its attacks.
If using the Whip or Scythe is out of the question for you, you should still be fine, as this encounter doesn't mix things up too much. The extra reach just makes some of his attacks more punishable than they already are. You can learn more about his attacks in the sections below!
Charging Slam
This attack has the Lamellar Warrior grab its Axe with its tail before charging forward and slamming it violently toward the ground, dealing significant damage if it connects with its target.
Charging Slam is easily telegraphed, as you will see the Lamellar Warrior grab the Axe with its tail before dashing forward. To avoid this attack, wait for them to charge ahead and jump just before they reach you to clear them and the Axe.
You can attack while airborne to temporarily stall your descent, giving you more than enough height and time to clear both the Lamellar Warrior and the Axe being slammed into the ground. When you land, you can run up to them and get a few hits in before retreating.
read moreSpinning Strike
Another attack in the Lamellar Warrior's arsenal is the Spinning Strike, which also has it equip the Axe with its tail before hurtling itself through the air toward you, finishing the attack with a powerful plunging strike.
Like the other attack, this one is also easily telegraphed, as you will see the Lamellar Warrior dash backward before moving its Axe to its tail. If you don't see it backdash but still place the Axe in its tail, then be prepared for the Charging Slam attack instead.
As soon as the Lamellar Warrior takes to the sky,run all the way to the left or right to avoid the attack altogether. If you are toward the middle of the screen, you can pass underneath the Lamellar Warrior, then run up behind it when it lands for several attacks.
However, if you choose to run in the direction of the attack, you will have to create much more space between you and the Lamellar Warrior to avoid getting hit, leading you to only get a few hits in when it lands. Both methods are fine, though, as long as you avoid taking damage.
read moreSlicing Boomerang
The last attack of the Lamellar Warrior is the Slicing Boomerang, which is easily its most powerful and annoying one, and one that it will spam throughout your encounter.
Slicing Boomerang is well-telegraphed, as the Lamellar Warrior will place its Axe on its back before swiftly grabbing a Stone Boomerang from its hip. From here, it will toss the Boomerang forward, dealing a great deal of damage if it connects with you.
Unfortunately, it does not end here, as the Boomerang will shortly make its way back to the Lamellar Warrior, giving it the potential to hit and deal substantial damage to you once more on its return.
Dodging the first hit of the Boomerang is easy enough, as you can simply jump over it before it hits you. With the attack being as easily-telegraphed as it is, you have lots of time to prepare yourself to evade it.
Evading the second hit of the Boomerang, however, is a bit trickier, as it does not travel as low to the ground as before. Dodging the returning Boomerang requires you to either jump over the Lamellar Warrior or crouch underneath it.
Both methods will save you from taking damage. Ducking underneath the returning Boomerang is our preferred option, however, as you don't have to worry about getting enough air and distance to clear the Lamellar Warrior in such a short window.
You can hit the Lamellar Warrior after dodging the first hit of the Boomerang and after evading its return, but don't get too carried away here. Focus on landing about two hits per dodge, as most of your damage output will come from the other attacks.
read moreRinse and repeat these strategies until the Lamellar Warrior's HP is depleted!
NEXT: Afterimage: Beginner's Tips