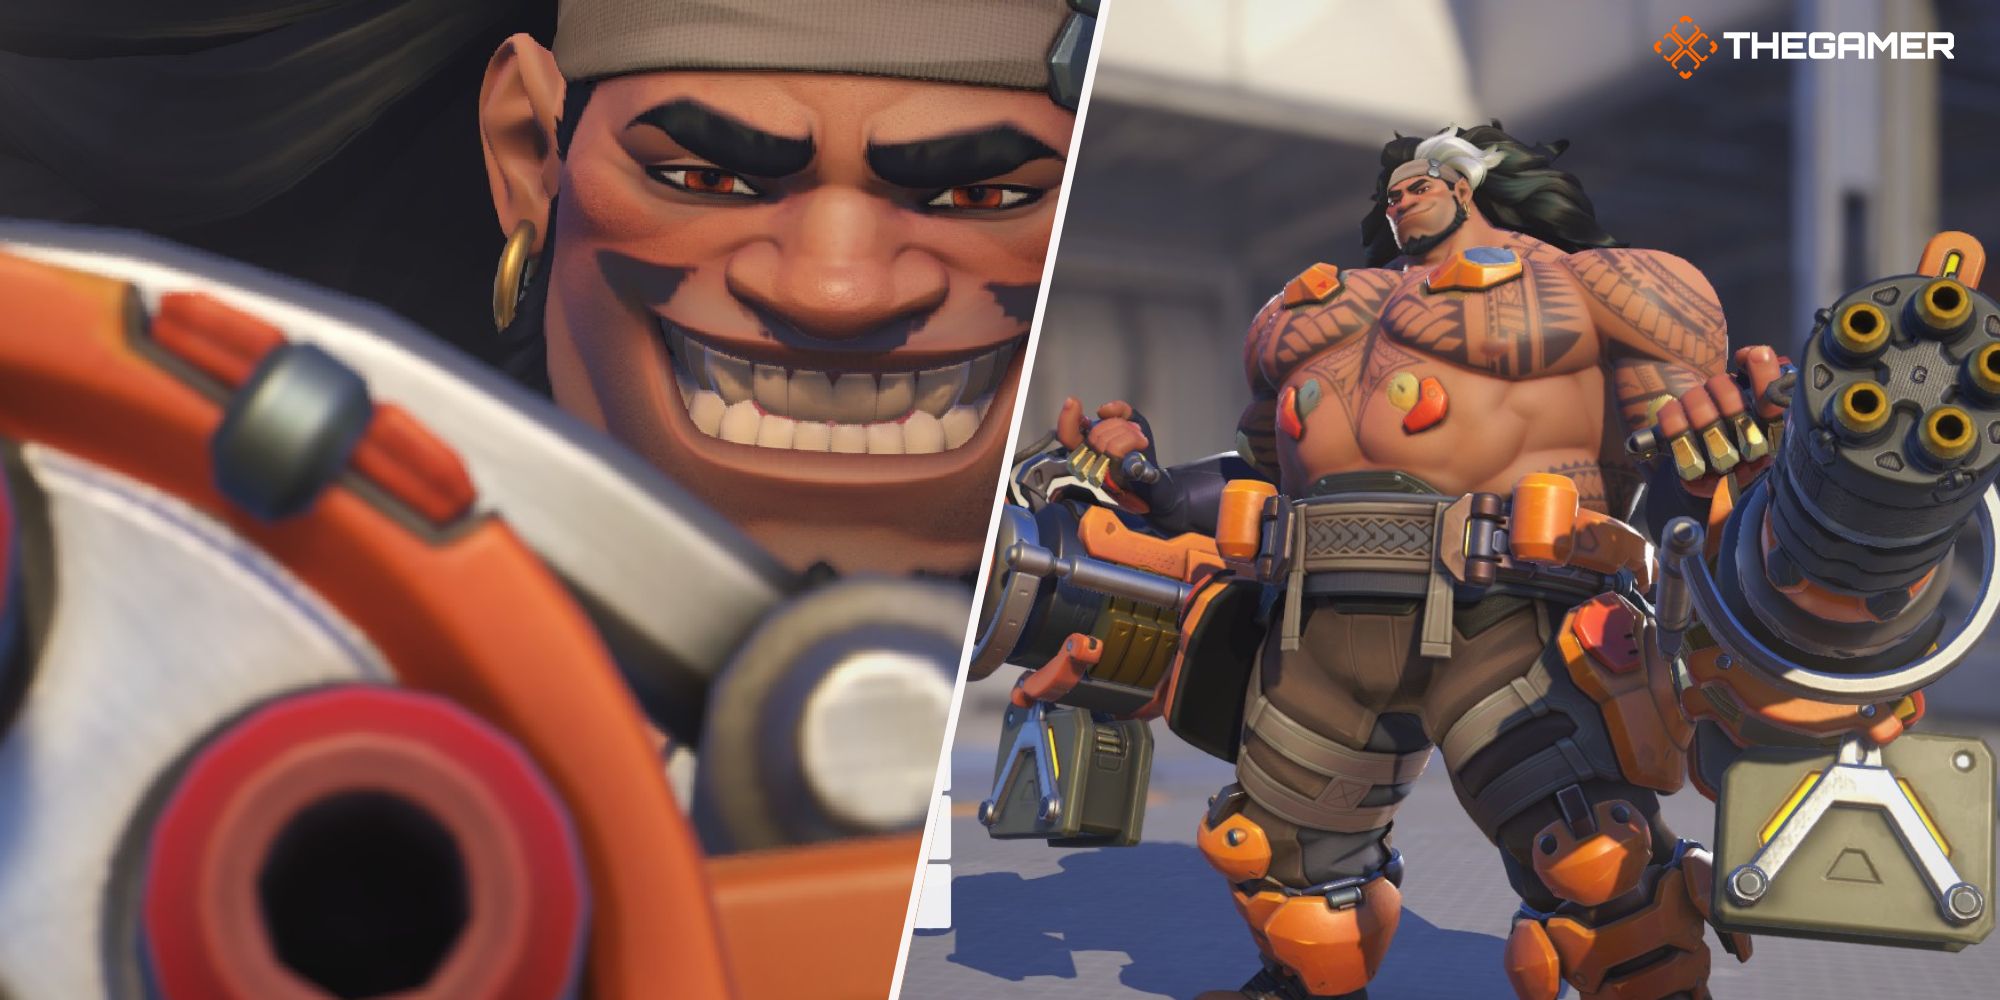
Mauga joins Overwatch 2 as the 39th hero in the roster. Hailing from the island state of Samoa and carrying two machine guns, a mountain of muscle, and an eager grin, he’s an aggressive tank with powerful offensive capabilities to make the enemy team run from his symphony of fire, bullets, and charm.
RelatedOverwatch 2: Ana Hero Guide
Ana is a powerful support Hero in Overwatch 2, if you can master her complex kit. Here are some tips for playing Ana.
PostsLike all hero’s, Mauga comes with his own share of pros and cons, especially when it comes to making the most of his new kit. So here’s a rundown of Mauga’s abilities, how they work, and a few pointers to get you on the way to that victory screen.
Mauga Ability Overview
Ability
Description
Primary Fire
Automatic weapon that ignites enemies on repeated impacts.
Incendiary Chaingun
- Hitscan weapon that ignites enemies, causing damage over time.
- Movement speed reduced while active, can fire alongside Volatile Chaingun at decreased accuracy.
Alternate Fire
Automatic weapon that deals critical damage to burning enemies.
Volatile Chaingun
- Hitscan weapon that deals double damage to burning enemies.
- Movement speed reduced while active, can fire alongside Incendiary Chaingun at decreased accuracy.
First Ability
Charge forward and stomp to launch enemies. You are unstoppable while charging.
Overrun
- Run five times faster and finish with an area of effect stomp attack.
- Reduced damage taken for the duration.
- Cannot use weapons while active but can stomp or cancel Overrun early.
Second Ability
Nearby allies take reduced damage and heal by dealing damage.
Cardiac Overdrive
- Mauga also takes reduced damage and can heal by dealing damage
Ultimate Ability
Deploy a barrier that traps yourself and enemies. Gain unlimited ammo while inside.
Cage Fight
- Barrier device chains all enemies in its line of sight, once attached, the enemy is trapped – even if line of sight is broken
- Can be interrupted while casting with stun effects like Doomfist’s Rocket Punch or Orisa’s Energy Javelin.
- Allies can shoot through the barrier and anyone can walk into the barrier, but enemies who do so will be trapped.
- Ultimate can be cancelled early.
Passive Ability
Gain temporary health when dealing critical damage.
Berserker
- 60% of critical damage is converted into overhealth, up to 150 HP.
- Critical hits include headshots, damage dealt to burning enemies with Volatile Chaingun, and stomping an enemy directly with Overrun.
In Role Queue game modes, Mauga has a total health pool of 500 points – split between 250 health and 250 armour.
He also gains the tank role passive which gives the following:
- Reduces knockbacks received (i.e. the distance he can be pushed via abilities like Lúcio’s Soundwave).
- Allies and enemies generate less ultimate charge by damaging or healing a tank.
- Gain 150 base health in Role Queue, armour and shields remain the same.
Overwatch 2: Lifeweaver Hero Guide
This support has some powerful crowd-control abilities.
PostsTips And Tricks For Mauga
Mauga fires both his chainguns to light up the D.va charging towards him as the enemy team looks to help their tank.Mauga’s Role As A Tank
Thanks to his burst damage and survivability, Mauga thrives in close-range fights against heroes with large hitboxes such as Orisa, Reinhart, and Bastion. Work with your team to close the gap and keep your Supports in line of sight to heal you, otherwise you’ll end up burning your cooldowns before the fight’s really begun.
While it’s important to burn down the enemy tank, your main objective is to win the fight. Create space, pressure their tank, and threaten the enemy supports to bait out their cooldowns, force mistakes, and get kills.
Though Mauga is strong, some compositions will cause more problems than others. Sigma can absorb a lot of your damage through his Experimental Barrier and Kinetic Grasp. Meanwhile, Junker Queen is agile with a slim hitbox for a tank, also making her difficult to shoot - this is especially bad since you heal through damage dealt.
Mauga also struggles against ranged heroes like Sojourn and Hanzo, as they chomp your health behind their frontline and have at least one movement ability to escape if you come too close.
Whilst heroes with small hitboxes like Tracer or Sombra are difficult to kill too, not just because they're hard to hit and heal from, but they’re also notoriously tough to pin down thanks to their movement abilities.
In terms of supports, your biggest threat is Ana, as she can use her Biotic Grenade to shut down all healing and force you to retreat or die. On the plus side, this means the ideal supports for Mauga are Ana – to prevent enemy healing and quickly kill targets, and Kiriko – to cleanse any anti-healing abilities on you.
Be Versatile With The Chainguns
Mauga performs best with both chainguns lighting up an enemy at point-blank, but that doesn’t mean he can’t fight at a distance. Beyond close range, use your machine guns one at a time, switching between your incendiary chaingun to set enemies on fire and your volatile chaingun for the critical damage.
At 350 rounds, you’ll have more than enough ammo to keep the pressure up but remember this is shared by both guns – meaning you’ll burn through ammo twice as fast if you’re firing both chainguns.
Just choose your reloads carefully. Mauga’s weapons have one of the longest reload times in Overwatch 2 and are key to building your health through the Berserker and Cardiac Overdrive abilities.
Be The Aggressor Or Stabiliser With Your Abilities
Despite it being compared to Reinhardt’s Charge, Overrun is closer in function to Orisa’s Fortify. When active, Overrun has excellent damage reduction, fast movement, and a powerful stomp.
These qualities make it well-suited for finishing off low-health enemies and pushing backline supports. The quick cooldown means it can be used to shake up the battlelines often, and the ability to end Overrun early lets you take ground without overextending.
If you start to lose the fight, Overrun can be a great tool for making an about face and regrouping with your respawning teammates.
Cardiac Overdrive is best used either to sustain an advantageous push or to stabilise a losing fight. However, the longer cooldown means that it should be used with greater caution. It’s useful to hit this ability whilst your team is nearby as they can also benefit from the extra health and damage reduction, which can swing the balance against an overextended or spread-out enemy team.
Don’t let this put you off using it alone. Whilst it’s right to maximize the value of your resources, hitting Cardiac Overdrive when you’re being hard focused rather than when you get to low health gives you more options to survive.
Watch out for Sigma’s Experimental Barrier, Kinetic Grasp, and D.Va’s Defense Matrix. It’s easy enough to keep shooting through them, but when you’re on low health, these abilities will stop you from getting the same damage you need to heal.
Prioritise Ranged And Fast Enemies With Your Ultimate
Cage Fight is a powerful ultimate that can be the sole reason for winning a fight. It stops all enemies from using movement abilities, making it great against heroes that rely on movement such as Winston, Doomfist, and Sombra, and fantastic against ranged targets like Ana, Hanzo, and Widowmaker – who become stuck at close range.
For best results, use your ultimate during the middle of a fight when your opponents have most likely used their cooldowns – making it difficult to avoid or survive an incoming Cage Fight. Mauga also gets unlimited ammo during his ultimate, so it’s a good idea to get the most out of your current ammo before dropping the barrier device.
NextOverwatch 2: Illari Hero Guide
Illari, the Last Child of the Sun, is a solar energy-themed support hero in Overwatch 2. Here's what you need to know.
Posts