Magic: The Gathering - The Gitrog Monster Commander Deck Guide
The Gitrog Monster is one of the more popular Golgari (black/green) commanders in Magic: The Gathering. The commander is very strong, letting you play a game built around playing multiple lands a turn with multiple combos to either win the game or keep you in it for as long as possible.
RelatedMagic: The Gathering - Dimir Murktide Modern Deck Guide
Here's how to play the Dimir Murktide Modern Deck In Magic: The Gathering!
PostsA Gitrog Monster deck can do a whole lot, all rather easily. If you are a fan of more combo-centric decks, The Gitrog Monster is a great choice of commander. If you are looking to dive into competitive Commander (more commonly known as cEDH), The Gitrog Monster is a great introduction to that area of Magic as well.
Decklist
Commander: The Gitrog Monster
Wrenn and Seven
Aftermath Analyst
Ancient Greenwarden
Avenger of Zendikar
Azusa, Lost but Seeking
Braids, Arisen Nightmare
Courser of Kruphix
Dryad of the Illusian Grove
Elves of Deep Shadow
Elvish Mystic
Elvish Reclaimer
Golgari Grave-Troll
Llanowar Elves
Loot, Exuberant Explorer
Lotus Cobra
Lumra, Bellow of the Woods
Noose Constrictor
Putrid Imp
Rampaging Baloths
Ramunap Excavator
Scute Swarm
Skull Prophet
Springheart Nantuko
Stinkweed Imp
Sylvan Safekeeper
Tireless Provisioner
Titania, Nature's Force
Titania, Protector of Argoth
Uurg, Spawn of Turg
Wild Mongrel
World Shaper
Farseek
Finale of Devastastion
Gaea's Blessing
Life from the Loam
Nature's Lore
Rampant Growth
Scapeshift
Splendid Reclamation
Sylvan Scrying
Toxic Deluge
Abrupt Decay
Archdruid's Charm
Assassin's Trophy
Beast Within
Crop Rotation
Entish Restoration
Grisly Salvage
Harrow
Rain of Filth
Realms Uncharted
Roiling Regrowth
Arcane Signet
Expedition Map
Fellwar Stone
Golgari Signet
Lotus Petal
Sol Ring
Talisman of Resilience
Wishclaw Talisman
Case of the Locked Hothouse
Oblivion Crown
Undergrowth Recon
Walk-In Closet // Forgotten Cellar
Zendikar's Roil
Barren Moor
Woodland Cemetery
Brokers Hideout
Cabaretti Courtyard
Command Tower
Crystal Vein
Dakmor Salvage
Drownyard Temple
Echoing Depths
Fabled Passage
x6 Forest
Ghost Quarter
Glacial Chasm
Llanowar Wastes
Lotus Field
Myriad Landscape
Nurturing Peatland
Reliquary Tower
Riveteers Overlook
x5 Swamp
Tainted Wood
Tranquill Thicket
Twilight Mire
Urza's Cave
Vesuva
The decklist contains one planeswalker, 31 creatures, ten sorceries, 11 instants, eight artifacts, five enchantments, and 34 lands. The deck consists primarily of cards that give extra land drops, or benefit from extra land drops.
RelatedMagic: The Gathering - Tinybones, Bauble Burglar Commander Deck Guide
Here's how to play the Tinybones, Bauble Burglar Commander Deck In Magic: The Gathering!
PostsKey Cards
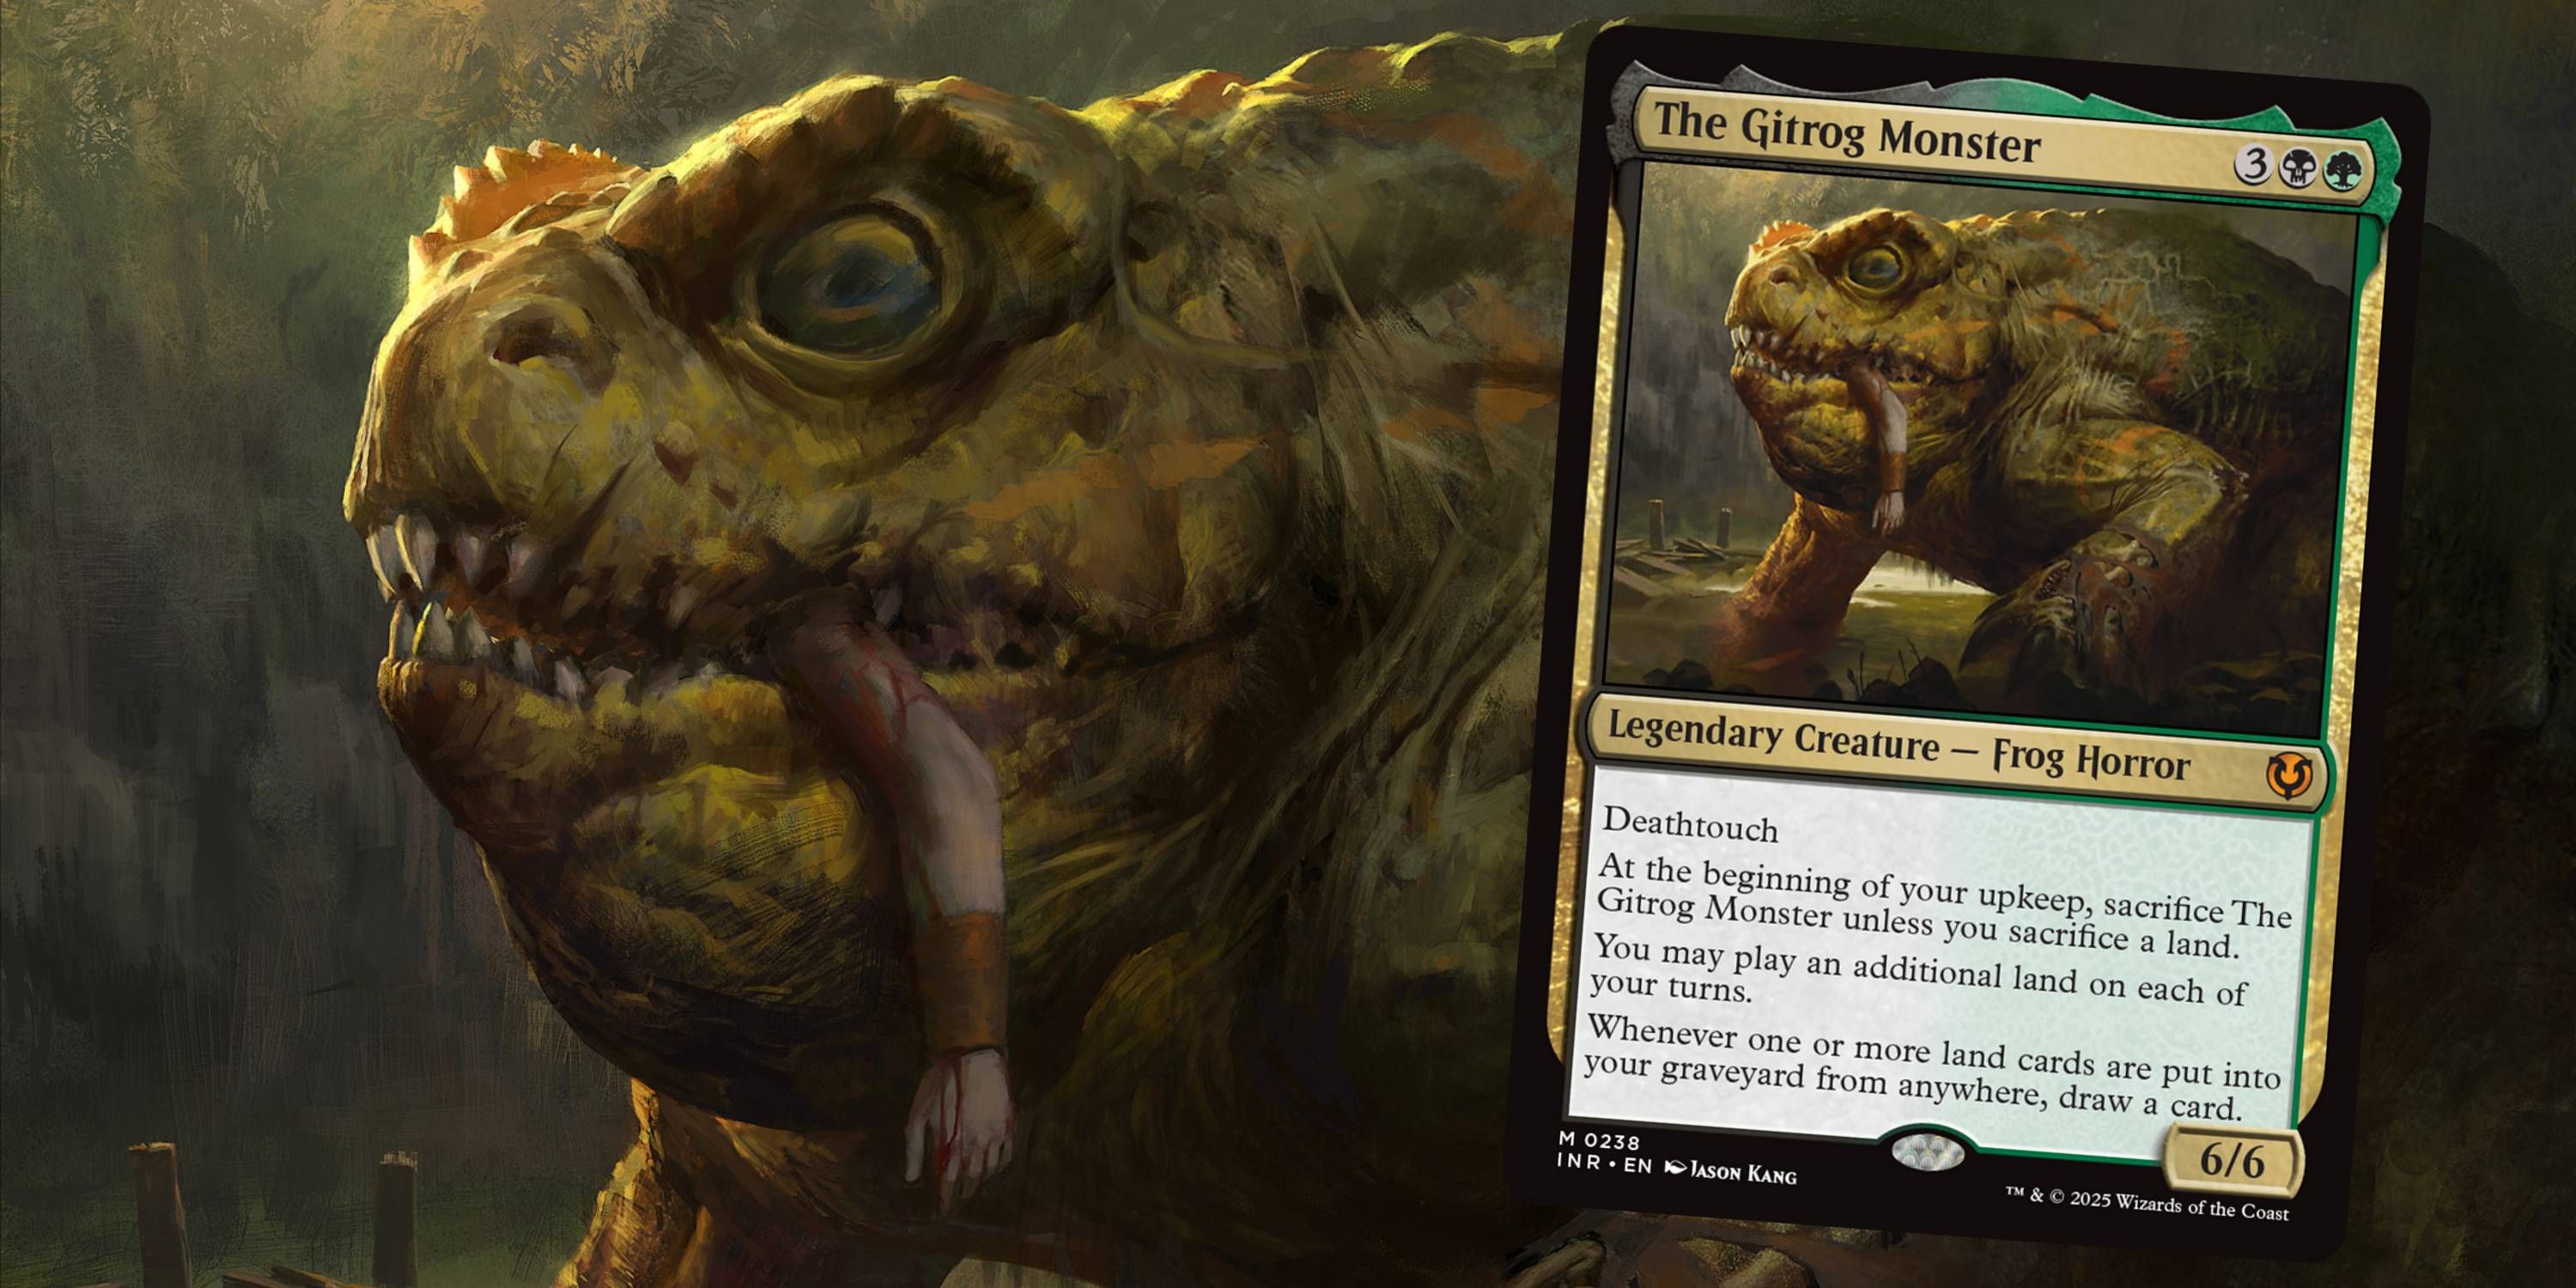
The Gitrog Monster
The Gitrog Monster acts as both your biggest combo enabler, as well as your primary source of card advantage. The maintenance cost of sacrificing a land is mandatory, but you get to draw a card after sacrificing it. This pairs especially well with cards that let you play lands from the graveyard so they're not permanently lost.
The maintenance cost for The Gitrog Monster is mandatory, but if you really need your lands, you can opt to sacrifice The Gitrog Monster instead of a land.
The ability to draw a card when a land is put into the graveyard is vital, and the primary way you'll be triggering the combos in the deck. Even without the combos, lands that go to the graveyard naturally like fetchlands will net you card draw while keeping your lands maxed out. Bringing these back will net you even more cards in your hand when you re-use them.
Dakmor Salvage
Dakmor Salvage is the most important land in the deck. This is thanks to its dredge ability, which lets you mill two cards to put it back into your hand when it's in your graveyard. You never actually want it on the battlefield, as instead you'll be looping it with The Gitrog Monster to mill and draw your whole deck.
The combo works as such:
Have any permanent on the battlefield that can discard a card, The Gitrog Monster on the battlefield, and Dakmor Salvage in your hand.
Step Number
Description
1
Discard Dakmor Salvage, which will trigger the draw effect of The Gitrog Monster.
2
Use the dredge ability of Dakmor Salvage instead of drawing a card, milling two cards and returning Dakmor Salvage to your hand.
3
If no non-lands were milled, repeat the first two steps.
If one or two lands were milled, discard Dakmor Salvage as the Gitrog trigger goes on the stack and repeat the first two steps. This will put another Gitrog trigger on the stack, letting you save the one(s) from the milled lands for when you're ready to draw your deck.
4
If a card that shuffles your graveyard back into your library when it hits the graveyard is milled, stack it so the shuffle resolves before the Gitrog trigger, then discard Dakmor Salvage after the shuffle effect resolves but before Gitrog's draw trigger.
5
With so many extra draw triggers happening as other lands are milled, you will have enough draw triggers to draw your whole deck after looping through this combo. Thanks to the shuffler, you'll never mill yourself to a loss, and can keep looping until you draw your whole deck since the shuffle will always go back in the deck, so you don't mill yourself out (just make sure to discard the shuffler before your draw trigger once you have your deck in your hand).
Glacial Chasm
Since The Gitrog Monster is a combo deck first and foremost, you're a prime target from the get-go of a game. Glacial Chasm is a way to keep you in the game by making it impossible for your opponents to deal damage to you. It doesn't matter that you can't attack, as you aren't going to be attacking too much to begin with.
You'll never have to pay the cumulative upkeep, so long as you have a permanent that lets you play cards from the graveyard and a permanent that lets you play two lands a turn. You'll sacrifice Glacial Chasm to cumulative upkeep (or The Gitrog Monster).
Afterward, play a land to sacrifice from the graveyard or yard, then play Glacial Chasm from the graveyard, sacrificing the land you just played. This locks your opponents out of damaging you.
RelatedMagic: The Gathering - Isareth, The Awakener Commander Deck Guide
If you're looking for a deck that depends on graveyards, Isareth is a great commander for the task. Learn more about her in MTG.
PostsHow To Play The Deck
The Gitrog Monster is primarily a combo deck, with a secondary landfall theme as a backup. You don't want to go all-in on the combo, as sometimes it can get cut off if Dakmor Salvage ever gets exiled.
Permanents that create creatures when lands enter help as a "plan B," as well as creating a board presence so you aren't playing the game with no defenses. Cards like Scute Swarm, Zendikar's Roil, and Titania, Springheart Nantuko all help with this.
It's best to bestow Springheart Nantuko onto a creature that lets you play additional lands a turn. This is because you can create a copy of the enchanted creature when a land enters, and the effect stacks. So if a card that lets you play on additional land is copied, you can now play two additional lands.
Dakmor Salvage is by far the most important card in the deck. As such, you want it in your hand as fast as possible. There are multiple tutors in the deck for it such as Sylvan Scrying, Expedition Map, and Archdruid's Charm. It's also not a bad choice to tutor directly on the battlefield, as you can sacrifice it to The Gitrog Monster to get your loops going.
The primary win condition is winning through combo. Once you have your whole deck in your hand, you can use a land, Gaea's Blessing, Dakmor Salvage, and a Lotus Petal to generate infinite mana. You just loop the discard effects of a permanent and discard the two lands to get Gaea's Blessing in the graveyard to shuffle everything in the library and draw them again.
The land you discard is the draw trigger, while Dakmor Salvage is dredged to mill Gaea's Blessing into the graveyard and bring Dakmor Salvage back into your hand, while Lotus Petal goes back into your library.
After you generate infinite mana, you can win by destroying all permanents with an Assassin's Trophy you can loop like you did with Lotus Petal, or by casting Finale of Devastation for infinite X to give a +X/+X stat boost and haste to all your creatures. Alternatively, the deck can also win by combat by generating a ton of creature tokens.
The biggest downside of the deck is its big reliance on combo. While the backup plan is there, you want to be going through the infinite combos instead. If you lose Dakmor Salvage, a lot of other cards in your deck become a lot worse to borderline useless.
NextMagic: The Gathering - Edgar Markov Commander Deck Guide
Here's how to play the Edgar Markov Commander Deck In Magic: The Gathering!
Posts